Planning and Design
Installing a concrete driveway begins with thoughtful planning. Consider the layout, slope for drainage, vehicle load, and how the driveway connects to the garage and street. Typical slope recommendations are between 1/8″ and 1/4″ per foot to direct water away from structures. Think about width (single vs. double), any decorative finishes, and utility access before breaking ground.
Decide on Thickness and Finish
Common thicknesses are 4 inches for standard passenger vehicles and 5–6 inches for heavier vehicles or frequent delivery trucks. Choose a finish—broomed for slip resistance, stamped for pattern, or exposed aggregate for texture. Also select a concrete mix strength (often 3,000–4,000 psi for driveways).
Permits and Codes
Check local building codes and homeowner association rules. Some municipalities require permits, inspections, or specific curb cuts and drainage provisions. Getting the correct permits avoids fines and ensures the driveway meets local stormwater and setback rules.
Materials and Tools
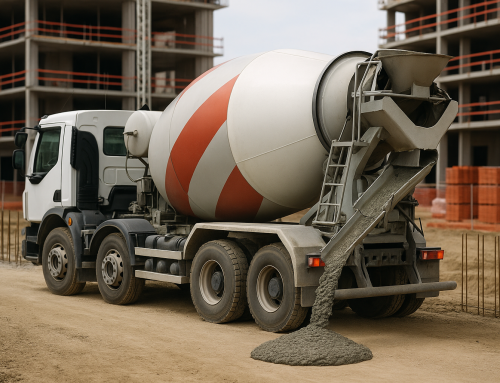
Gather quality materials and the right tools before starting. Typical materials include ready-mix concrete, base aggregate (crushed stone), reinforcement (wire mesh or rebar), form lumber, and joint materials. Tools include a plate compactor, concrete mixer or pump (if not using ready-mix), screed board, bull float, trowel, edger, groover for control joints, and curing materials (plastic sheeting or curing compound).
Site Preparation
Proper site prep is the foundation of a long-lasting driveway. Follow these steps:
- Mark the area and remove topsoil, vegetation, and organic material.
- Excavate to the required depth, which includes space for base material and concrete thickness.
- Install a compacted subbase of crushed stone (typically 4–8 inches depending on soil and expected loads).
- Ensure the subgrade is well-compacted and graded to the desired slope.
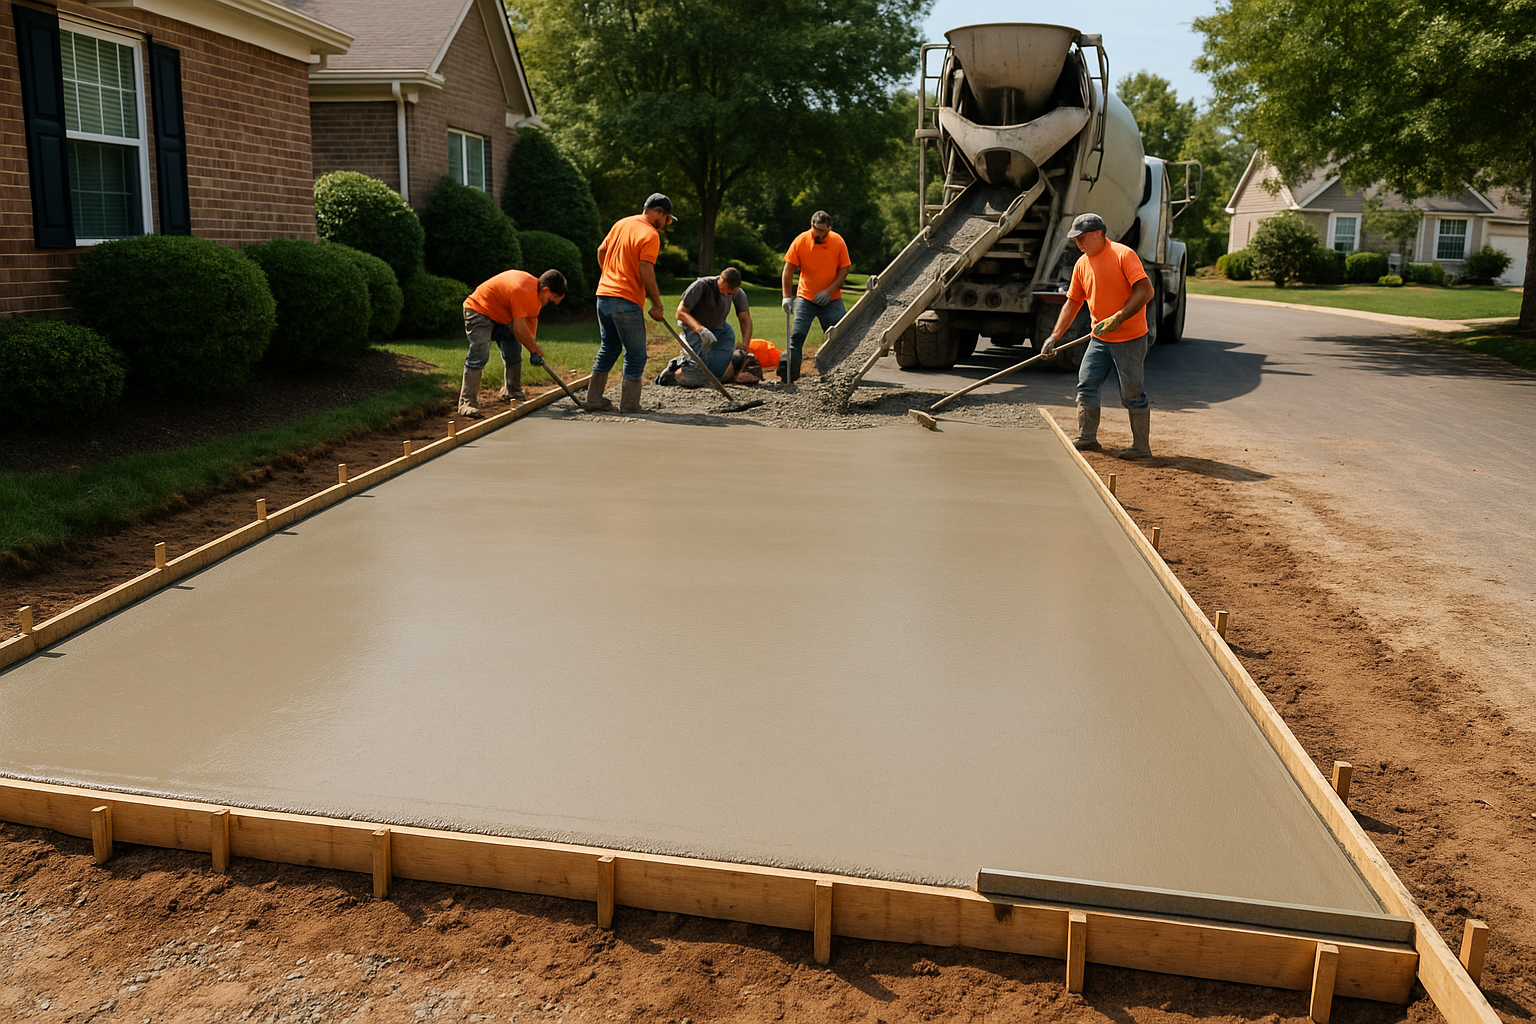
Forming and Reinforcement
Set sturdy wooden or metal forms to hold the concrete shape. Use stakes and braces to prevent movement during the pour. Reinforcement helps prevent cracking and increases load capacity:
- Wire mesh is common for residential driveways and should be supported so it sits near mid-depth in the slab.
- Rebar provides greater strength for heavier loads or expansive soils; space per engineer recommendations.
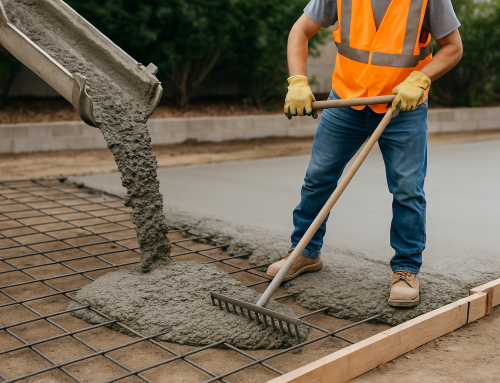
Pouring and Finishing
Schedule your pour for a day with favorable weather (not too hot, freezing, or rainy). If using ready-mix, coordinate truck arrival and have helpers ready. Key steps:
- Place concrete evenly, avoiding segregation. Use shovels and rakes to distribute.
- Screed across the forms to level the slab, then use a bull float to smooth and bring moisture to the surface.
- After bleed water dissipates, finish the surface: broom finish for traction or trowel/stamp for a smooth decorative look.
- Create control (contraction) joints to guide cracking—typical spacing for a 4″ slab is every 8–12 feet. Joints can be sawed after initial set or formed during finishing.
Curing and Joints
Curing is critical to achieving strength and durability. Keep the concrete moist for a minimum of 7 days; 28 days is ideal for full strength. Methods include wet curing with burlap/plastic or applying a curing compound. Avoid heavy loads for at least 7 days; light foot traffic can often wait 24–48 hours.
Control joints reduce random cracking. For long drives, consider expansion joints at hard boundaries (like garage thresholds) to accommodate temperature-related movement.
Sealing and Maintenance
Apply a concrete sealer after the concrete has adequately cured (usually 28 days) to increase stain resistance and protect against water and deicing chemicals. Maintenance tips:
- Clean spills promptly and remove oil stains with appropriate cleaners.
- Reseal every 1–3 years depending on climate and wear.
- Repair small cracks early with a concrete patch to prevent enlargement.
DIY vs Hiring a Pro
A DIY install can save money if you have experience and equipment, but concrete work is labor-intensive and timing-sensitive. Pros offer proper equipment, experience with site prep, mix selection, reinforcement placement, and finishing techniques. For large drives, complex grading, or decorative finishes, hiring a reputable contractor is often worth the investment.
Cost and Time Estimates
Costs vary by region, size, thickness, finish, and site conditions. A basic 4″ poured driveway typically costs more than asphalt but lasts longer with less frequent maintenance. Installation time ranges from 1–3 days for pouring (plus days for prep and curing). Budget for materials, labor, permits, and any drainage work.
Conclusion
A well-planned concrete driveway adds curb appeal and long-term value. Focus on proper site prep, the right thickness and reinforcement, timely finishing, and correct curing. Whether you tackle it as a DIY project or hire professionals, attention to these steps will help you achieve a durable, attractive driveway that stands up to years of use.