
Introduction
A concrete driveway can add curb appeal, improve durability, and create a low-maintenance surface for years to come. Whether you’re replacing an old driveway or starting from scratch, knowing the right process can help you avoid costly mistakes and achieve a clean, long-lasting result. This guide walks you through the essential steps for a successful concrete driveway project, from planning and preparation to pouring and finishing.
Plan the Project
Check local codes and permits
Before any digging or pouring begins, check with your local building department. Many areas require permits for driveway work, and some have rules about thickness, setbacks, drainage, and slope. Getting this information early helps you avoid delays or rework later.
Measure the driveway area
Accurate measurements are the foundation of a good estimate. Measure the length and width of the driveway to determine the square footage. This will help you calculate how much concrete, gravel, rebar, and forming material you’ll need. If the driveway has curves or expands at the entrance, factor those shapes into your total.
Decide on thickness and reinforcement
For most residential driveways, a 4-inch slab is standard, though heavier vehicles may require 5 or 6 inches. Reinforcement options include welded wire mesh, rebar, or fiber-reinforced concrete. Reinforcement helps reduce cracking, but it works best when the concrete is properly placed and supported on a strong base.
Prepare the Site
Remove old materials and vegetation
If you’re replacing an existing driveway, break up and remove the old concrete or asphalt first. Clear away grass, roots, rocks, and debris from the area. A clean site makes it easier to achieve a stable, even subbase.
Excavate to the correct depth
Excavate enough soil to allow for the base material and the concrete slab. Typically, you’ll need room for 4 to 6 inches of compacted gravel base plus the slab thickness. The finished surface should sit slightly above grade to help water drain away from the driveway.
Compact the subgrade
Once excavation is complete, compact the soil thoroughly. A well-compacted subgrade prevents settling, which can lead to cracks and uneven sections later. If the soil is soft or unstable, you may need additional base material or geotextile fabric for support.
Build the Forms and Base
Install forms
Forms define the shape and edges of the driveway. Use straight, sturdy boards staked securely in place so they won’t shift during pouring. Double-check the layout with a level to make sure the driveway slopes away from the house or garage for proper drainage.
Add a compacted gravel base
Spread and compact gravel or crushed stone in even layers. This base improves drainage, supports the slab, and reduces the chance of cracking from ground movement. A plate compactor works best for achieving a dense, stable base.
Set reinforcement
Place rebar or wire mesh in the middle of the slab depth, not directly on the ground. Use chairs, bricks, or supports to keep the reinforcement properly positioned. This step is often overlooked, but it’s important for structural strength.
Pour the Concrete
Choose the right mix
Select a concrete mix designed for driveways or exterior flatwork. The mix should be durable and suitable for freeze-thaw conditions if you live in a colder climate. Ask your supplier about the proper strength rating and any additives that improve workability or durability.
Work efficiently during placement
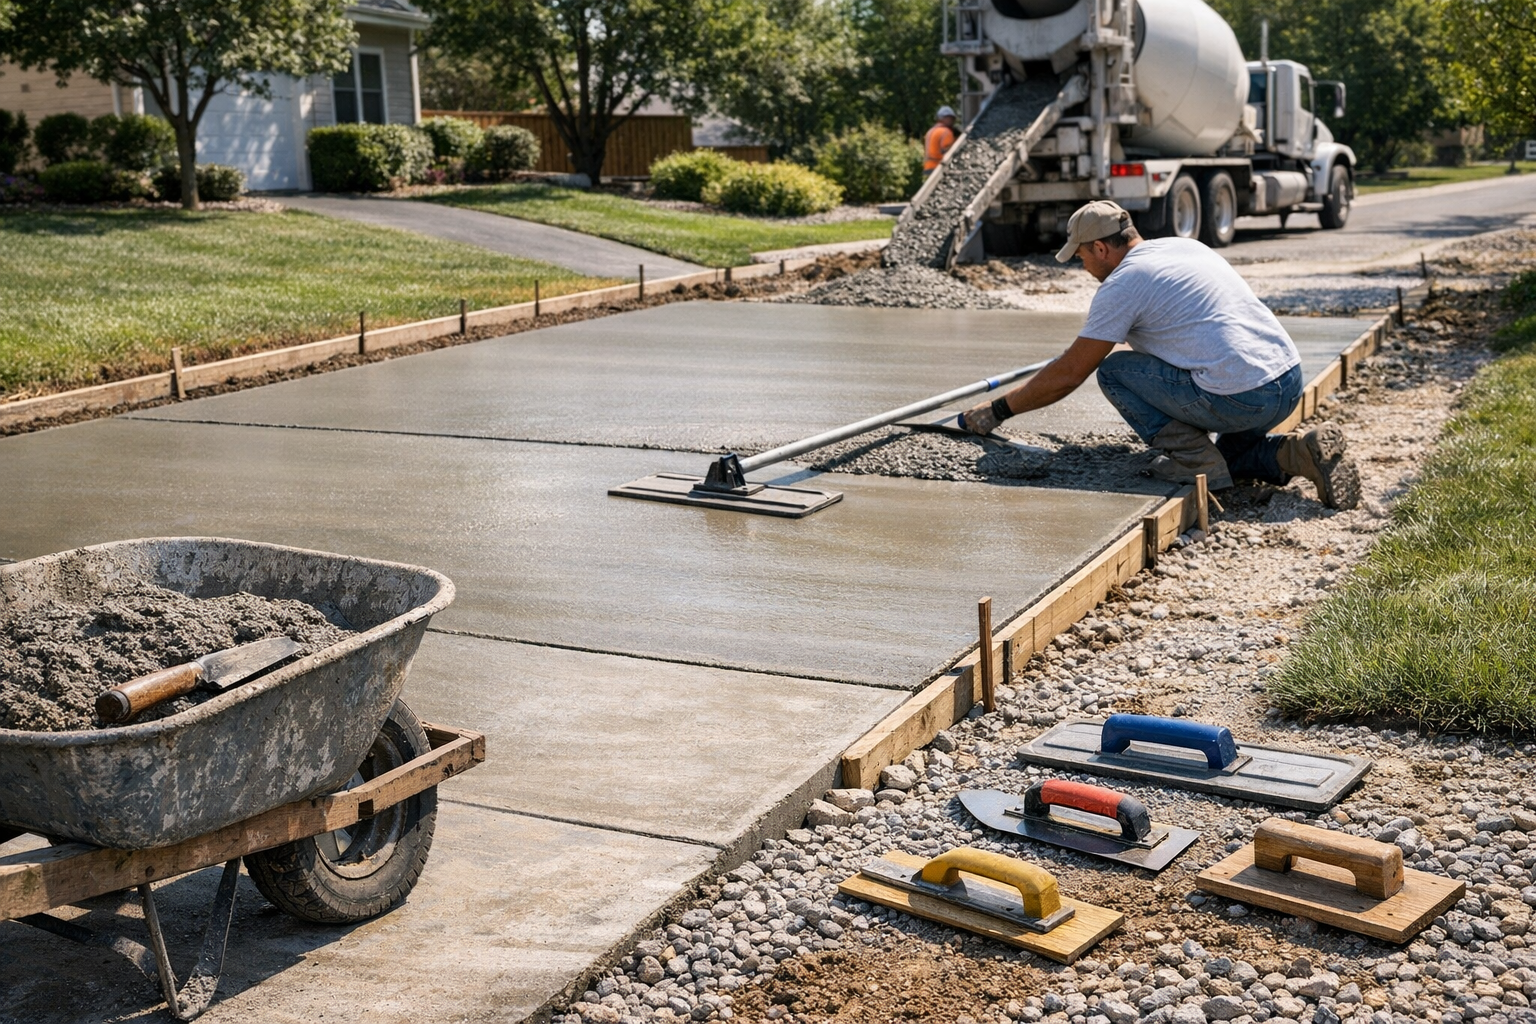
Concrete begins setting quickly, so coordinate your crew and tools before the truck arrives. Pour the concrete into the forms in manageable sections, then use shovels or rakes to distribute it evenly. Avoid adding too much water to the mix, since that can weaken the finished slab.
Screed and level the surface
After placing the concrete, use a screed board to level it across the forms. Move the board in a sawing motion while pulling it toward you to remove excess material and create a flat surface. Fill any low spots as needed and screed again.
Finish and Cure the Driveway
Float and edge the surface
Once the concrete has been screeded, use a bull float or hand float to smooth the surface and bring paste to the top. Then use edging tools along the perimeter to round off sharp corners and reduce chipping. These finishing touches improve both appearance and durability.
Add control joints
Control joints help direct cracking to planned locations as the concrete shrinks and cures. Cut joints at regular intervals using a groover or saw, usually spacing them about 8 to 10 feet apart depending on the slab layout. Proper joint placement is one of the best ways to keep a driveway looking clean over time.
Cure the concrete properly
Curing is just as important as pouring. Keep the surface moist or use a curing compound to slow evaporation and help the concrete reach its full strength. Avoid driving or parking on the driveway too soon; most slabs need at least 7 days before light use and around 28 days to fully cure.
Maintenance Tips
Clean regularly
Sweep away debris and wash off stains as needed to keep the surface in good shape. Oil, rust, and leaf stains can become harder to remove if left for too long.
Seal when appropriate
A quality sealer can help protect against moisture, salt, and surface wear. Sealing is especially helpful in areas with freezing temperatures or heavy vehicle traffic. Reapply sealer according to the manufacturer’s recommendations.
Watch for cracks and repairs
Small cracks are common over time, but they should be monitored and sealed early to prevent water from getting underneath the slab. Addressing minor issues promptly can extend the life of your driveway and reduce more expensive repairs later.
Conclusion
A successful concrete driveway starts with careful planning, a solid base, proper reinforcement, and good finishing practices. If you take the time to prepare the site and cure the slab correctly, you’ll end up with a driveway that looks great and performs well for many years. Whether you’re doing the work yourself or hiring a contractor, understanding the process helps ensure better results.