Concrete Driveway How To: Overview
A concrete driveway is one of the most durable and low-maintenance options for a home, but a strong result depends on careful planning, proper site preparation, and good finishing. If you’re learning concrete driveway how to build one, the process is manageable when you break it into clear steps. From checking drainage to pouring and curing, each phase affects how long your driveway lasts and how good it looks.
This guide walks you through the main stages so you can understand what’s involved before starting the project. Whether you’re doing it yourself or hiring a contractor, knowing the process helps you avoid common mistakes and make better decisions.
Planning and Preparation
Check local codes and permits
Before any digging begins, check your local building codes and permit requirements. Some areas regulate driveway width, thickness, slope, and where water can drain. Getting approved early can save time and prevent expensive fixes later.
Measure and mark the layout
Use stakes and string to outline the driveway shape. Think about vehicle access, turning space, and how the driveway connects to the street or garage. A standard residential driveway is often at least 10 to 12 feet wide, but larger homes or shared driveways may need more room.
Plan for drainage
Water is one of concrete’s biggest enemies. Your driveway should slope slightly away from structures so water runs off properly. In many cases, a slope of about 1/4 inch per foot is enough, but local conditions may require a different approach. Good drainage helps prevent cracking, erosion, and ice buildup.
Excavation and Base Installation
Remove grass, soil, and debris
Excavate the area to the proper depth so the finished driveway will sit at the right level. You’ll need space for the concrete slab plus the base material beneath it. Remove all organic material, soft spots, and loose soil, since these can shift over time and weaken the driveway.
Compact the subgrade
After excavation, compact the soil thoroughly. A stable subgrade gives the concrete a solid foundation. If the soil is weak or uneven, it may need extra stabilization or replacement with better material.
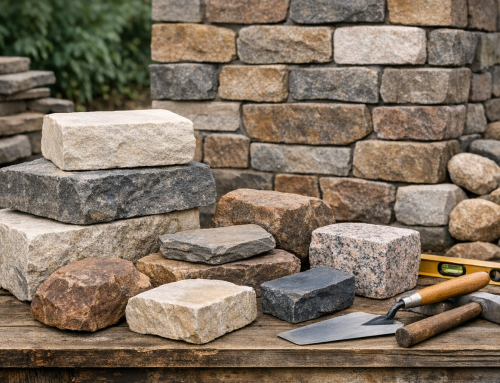
Add and compact the base
Most concrete driveways use a gravel or crushed stone base. Spread the base material evenly and compact it in layers. A well-compacted base improves drainage, reduces settling, and helps the slab support vehicle loads more effectively. The exact thickness depends on soil conditions and expected use, but a solid base is essential.
Forming and Reinforcement
Build the forms
Forms hold the concrete in place while it cures. Use straight, sturdy boards or metal forms and secure them tightly with stakes. Check the height carefully, since the top of the forms determines the final surface level. Make sure the forms follow the intended slope and have clean, smooth edges.
Add reinforcement
Reinforcement helps concrete resist cracking from stress, temperature changes, and ground movement. Depending on the design, this may include rebar, welded wire mesh, or fiber reinforcement mixed into the concrete. Reinforcement does not prevent all cracks, but it can help keep them smaller and more controlled.
Mixing and Pouring the Concrete
Choose the right concrete mix
For a driveway, use a mix designed for exterior slabs and freeze-thaw durability if your climate requires it. A stronger mix with proper air entrainment can improve long-term performance. If you’re ordering ready-mix concrete, confirm the specifications before delivery.
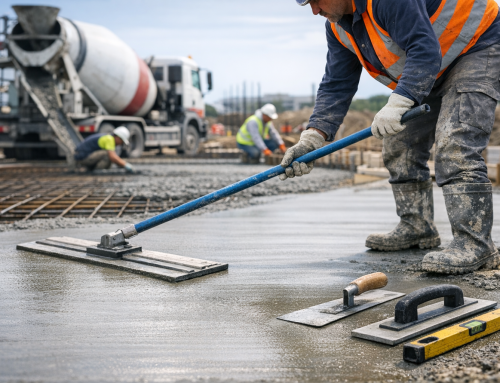
Pour and spread evenly
Pour the concrete into the forms in manageable sections. Spread it with shovels or rakes, making sure it fills corners and covers reinforcement evenly. Work quickly but carefully, because concrete begins setting as soon as it’s placed.
Screed the surface
Use a straight board or screed tool to level the concrete across the forms. Move the screed back and forth in a sawing motion while pulling it along the top edges of the forms. This step removes excess concrete and creates a flat, even surface.
Finishing and Curing
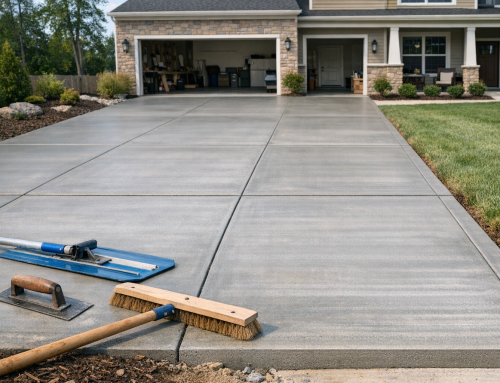
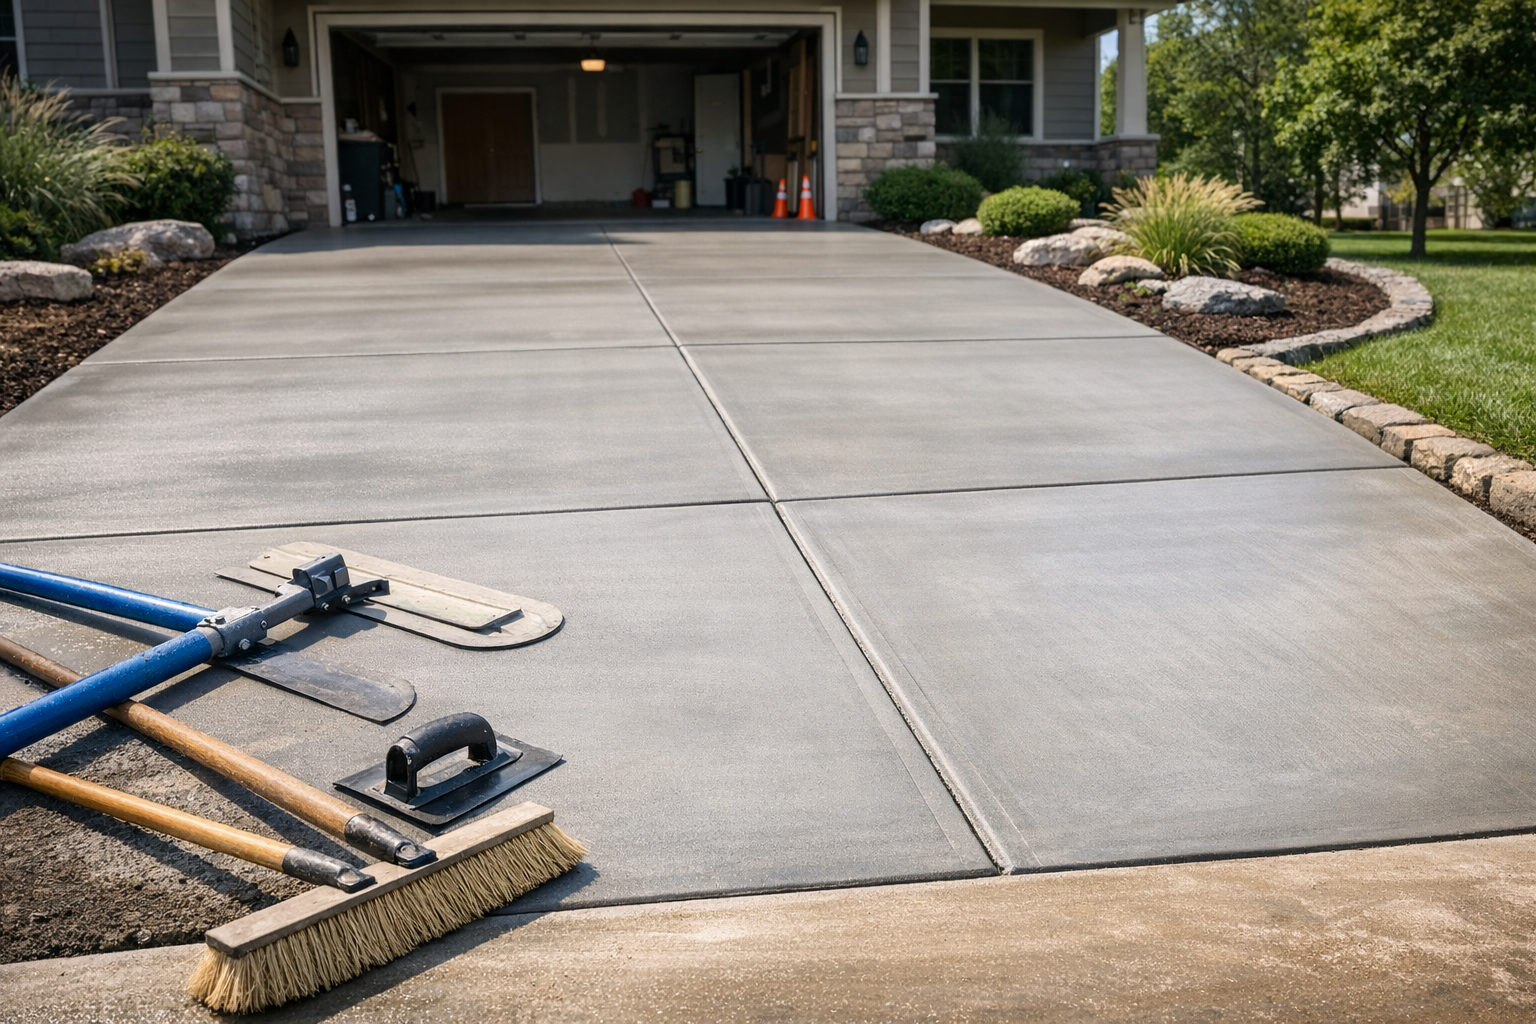
Float and edge the surface
After screeding, use a bull float or hand float to smooth the surface and push down small aggregates. Then edge the sides to create a cleaner finish and reduce chipping. If you want a broom finish for traction, wait until the surface has firmed up slightly before dragging the broom across it.
Cut control joints
Concrete naturally cracks as it shrinks, so control joints help direct those cracks to planned locations. Joints are usually cut or tooled at regular intervals, often spaced based on slab thickness and driveway layout. Proper joint placement is one of the most important steps for a long-lasting driveway.
Cure the concrete properly
Curing allows concrete to gain strength over time. Keep the slab moist or use a curing compound according to product instructions. Avoid driving on it too soon, and protect it from rapid drying, extreme heat, or freezing. While light foot traffic may be allowed after a short time, full vehicle loading typically requires several days or longer, depending on conditions and mix design.
Common Mistakes to Avoid
Skipping base preparation
A driveway poured over weak or poorly compacted soil is far more likely to crack or settle. Never rush excavation and base work.
Using the wrong slope
Poor drainage can send water toward your garage or foundation. Always plan the pitch before pouring.
Pouring without enough reinforcement or joints
Even high-quality concrete needs support and crack control. Reinforcement and joint placement help protect your investment.
Rushing the cure
Driving on fresh concrete too early can damage the slab permanently. Give it time to strengthen before use.
Conclusion
Learning concrete driveway how to build one starts with careful preparation and ends with patience during curing. When the base is solid, the forms are accurate, and the finish is properly maintained, you get a driveway that performs well for years. If the project feels too large to handle alone, consult a professional for the excavation, pouring, or finishing stages. Either way, the more you understand the process, the better your results will be.