
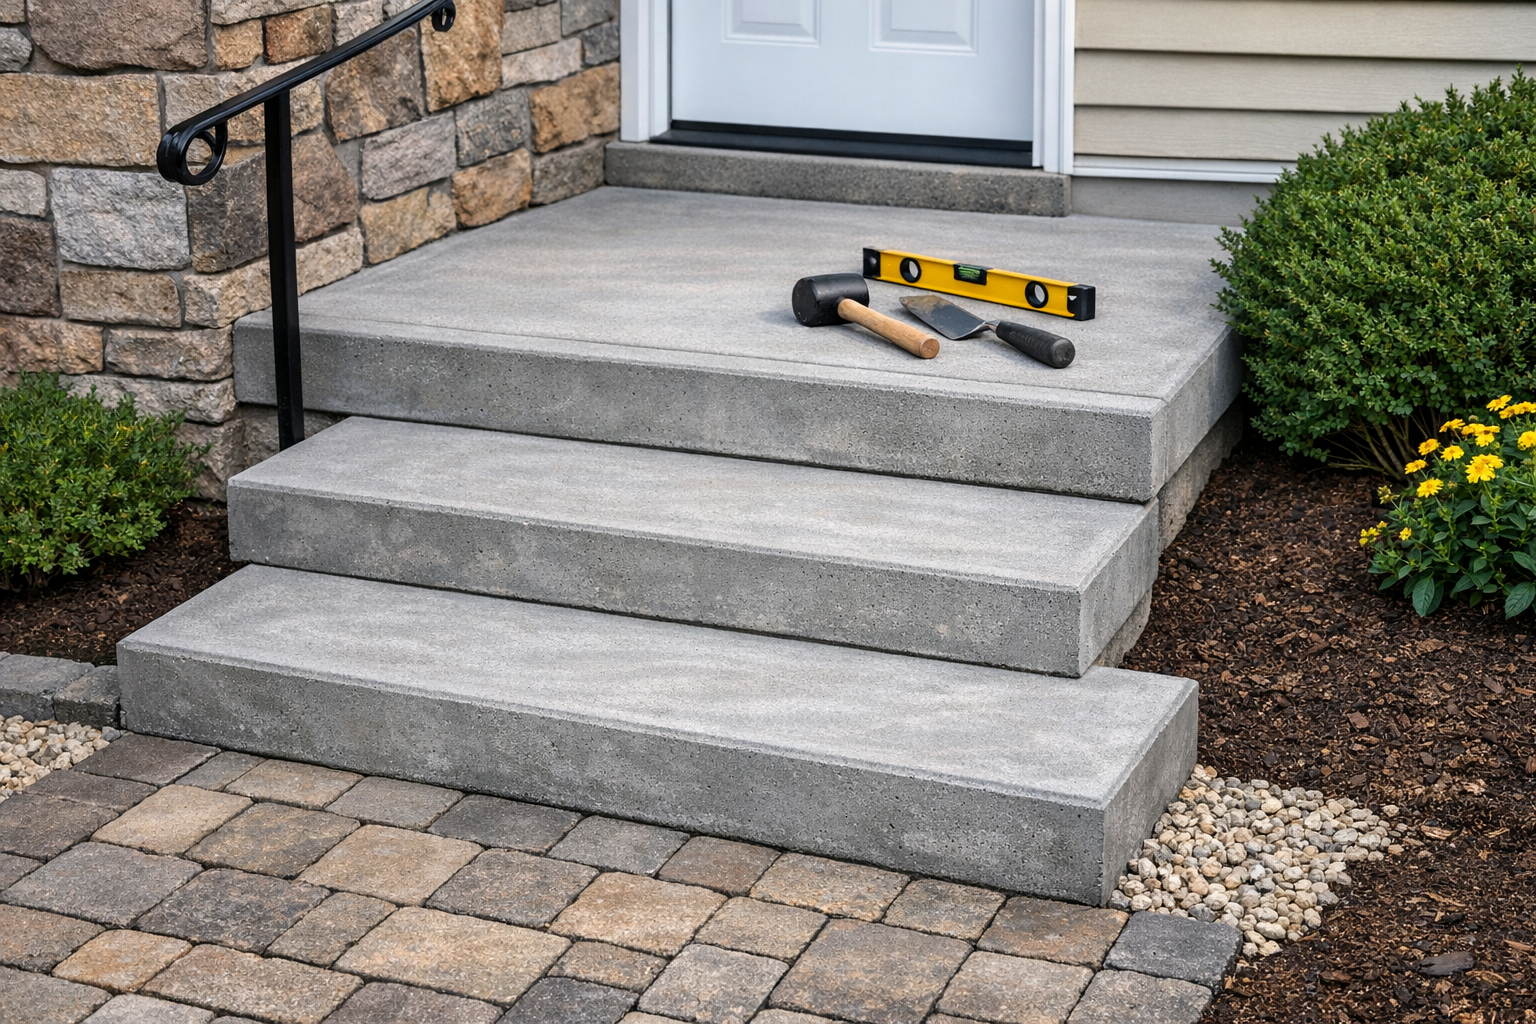
Concrete step installation is one of the best ways to create a strong, long-lasting entrance for a home or business. Whether you’re replacing worn-out wooden steps or building a new entry from scratch, properly installed concrete steps can improve safety, boost curb appeal, and require very little maintenance over time.
That said, concrete step installation is a project where details matter. A solid base, accurate measurements, proper reinforcement, and careful finishing all play a role in how well the steps perform for years to come. In this guide, we’ll walk through the process, benefits, and important considerations so you know what to expect before getting started.
Why Choose Concrete Steps?
Concrete steps offer a combination of strength, versatility, and durability that many other materials can’t match. They hold up well in harsh weather, resist rot and insect damage, and can be designed to match a wide range of architectural styles.
For homeowners, concrete steps are often a smart investment because they need less upkeep than wood and typically last much longer. They can also be finished in different ways, including smooth trowel, broom texture, stamped patterns, or decorative staining. That means you can get both function and style from the same structure.
Another major advantage is safety. Properly built concrete steps provide a stable, consistent surface that makes it easier to enter and exit a property. With the right slope, depth, and traction, they can help reduce the risk of slips and falls.
Planning Your Concrete Step Installation
Before any concrete is poured, careful planning is essential. The dimensions, location, and design of the steps must be determined ahead of time to ensure the final result is comfortable, code-compliant, and structurally sound.
Measure the Rise and Run
The first step is calculating the total height from the ground to the landing or doorway. This is called the rise. From there, the height of each individual step and the depth of each tread, or run, can be determined. Uniformity matters here; uneven steps are not only uncomfortable but also unsafe.
In most cases, stair design must follow local building codes. These codes often specify minimum tread depth, maximum riser height, and handrail requirements. Checking those rules early can prevent costly changes later.
Choose the Right Location
The surrounding ground should be evaluated for drainage, soil stability, and accessibility. Concrete steps should be installed where water will not pool around the base. Poor drainage can lead to cracking, shifting, or frost-related damage over time.
If the area slopes or has loose soil, additional excavation and base preparation may be necessary. A strong foundation is one of the most important parts of a lasting installation.
Materials and Tools Needed
Concrete step installation requires more than just concrete mix. A quality project depends on the right combination of materials, tools, and reinforcement.
Common materials include:
- Concrete mix
- Gravel or compacted base material
- Wood or form boards for shaping the steps
- Rebar or wire mesh for reinforcement
- Release agent or form oil
- Expansion joint material, if needed
- Finishing tools such as a trowel, edger, and broom
Useful tools may include a shovel, level, tape measure, tamper, drill, screws, and wheelbarrow. For larger projects, a concrete mixer or ready-mix delivery can save time and improve consistency.
Step-by-Step Installation Process
While every project is a little different, the general process for concrete step installation follows a clear sequence.
1. Prepare the Site
Start by removing grass, debris, old steps, or any unstable material from the area. Excavate to the depth needed for the base and forms. The ground should be compacted to reduce settling after installation.
Next, add a layer of gravel or crushed stone if required. This helps with drainage and creates a more stable foundation for the concrete.
2. Build the Forms
Forms are the mold that holds the wet concrete in shape until it hardens. They must be strong, square, and accurately measured. If the forms are off by even a little, the steps can end up uneven or out of code.
Take time to brace the forms securely so they do not shift during the pour. Apply form oil or a similar release agent to make removal easier once the concrete has cured.
3. Install Reinforcement
Reinforcement such as rebar or wire mesh helps concrete resist cracking and improves overall strength. This is especially important for exterior steps exposed to temperature changes, moisture, and repeated foot traffic.
The reinforcement should be positioned so it sits within the concrete rather than on the bottom of the form. Proper placement ensures it can do its job effectively.
4. Pour and Shape the Concrete
When the forms and reinforcement are ready, pour the concrete evenly into place. Work carefully to fill all corners and eliminate air pockets. Use a shovel or rod to consolidate the mix as needed.
Once the forms are filled, screed off excess material and shape each step precisely. At this stage, accuracy is critical. A well-formed step set will feel comfortable and look professional.
5. Finish the Surface
After the concrete has started to set, finish the surface with the desired texture. A broom finish is a popular choice for exterior steps because it adds traction. Smooth or decorative finishes can also work well if they are paired with enough slip resistance.
Edges can be rounded or beveled slightly to reduce chipping and create a more polished appearance. If handrails or anchors are planned, they may need to be set before the concrete fully cures.
6. Cure Properly
Curing is one of the most overlooked parts of concrete step installation, but it is essential for strength and durability. Concrete should cure slowly so it can gain strength without drying too quickly. Depending on weather conditions, this may involve covering the steps with plastic or using a curing compound.
Avoid heavy use until the concrete has had enough time to harden. Even if the surface looks dry, the material may still be gaining strength underneath.
Common Mistakes to Avoid
Several issues can shorten the life of concrete steps if they are not addressed during installation. One of the biggest mistakes is poor site preparation. If the base is not compacted properly, the steps may settle or crack.
Another common problem is inconsistent measurements. Uneven risers or treads can create a tripping hazard and may violate local codes. Skipping reinforcement is also risky, especially in climates with freeze-thaw cycles.
Finally, rushing the curing process can weaken the finished structure. Patience during this stage pays off in the long run.
When to Call a Professional
Some small concrete projects can be handled by experienced DIYers, but step installation often benefits from professional expertise. If the project involves a tall stair run, complex layout, structural concerns, or code compliance issues, hiring a contractor may be the safest choice.
A professional can help with design, formwork, reinforcement, drainage, and finishing, reducing the chance of costly mistakes. They can also ensure the steps are built to meet local regulations and perform well over time.
Conclusion
Concrete step installation is a worthwhile project that adds safety, durability, and curb appeal to a property. With thoughtful planning, a strong foundation, proper reinforcement, and careful finishing, your steps can provide reliable performance for many years. Whether you’re replacing old stairs or building new ones, taking the time to do the job right makes all the difference.