
Introduction
A concrete driveway is a popular choice for homeowners who want a durable, low-maintenance surface with strong curb appeal. When installed correctly, it can last for decades and add real value to a property. Understanding the concrete driveway installation process helps you know what to expect, plan properly, and make smart decisions along the way.
From site preparation to finishing and curing, every step matters. A successful driveway depends on good groundwork, proper drainage, the right concrete mix, and careful timing. Below is a clear overview of how the process works from start to finish.
Planning and Site Preparation
Assessing the space
The first step in the concrete driveway installation process is evaluating the area where the driveway will go. Contractors check the slope, soil conditions, access points, and driveway dimensions. This is also when they determine whether the new driveway will connect to an existing driveway, garage, walkway, or street curb.
Good planning helps avoid drainage problems and ensures the finished surface is functional and visually balanced. If the area has poor soil or a steep grade, additional preparation may be needed before pouring concrete.
Removing old materials and clearing the site
If an old driveway already exists, it must be removed first. This may involve breaking up and hauling away old concrete, asphalt, or gravel. The site is then cleared of debris, vegetation, roots, and loose soil.
A clean, level work area gives the new driveway a stable foundation. Skipping this part can lead to cracking, sinking, or uneven settling later on.
Excavation and Base Installation
Excavating to the proper depth
After the site is cleared, the area is excavated to the correct depth. The required depth depends on the intended use of the driveway and local soil conditions. In most cases, enough soil is removed to allow for a compacted base and a concrete slab of proper thickness.
Driveways that will support heavier vehicles may need deeper excavation and additional reinforcement. This stage is essential for creating a strong foundation that can handle long-term use.
Installing and compacting the base
A compacted gravel or crushed stone base is typically placed after excavation. This base improves drainage, reduces movement in the soil, and gives the concrete a stable surface to rest on. The material is spread evenly and compacted in layers using heavy equipment.
Compaction is one of the most important parts of the process. If the base is not properly compacted, the driveway may shift or crack over time. A well-prepared base helps the concrete slab perform better and last longer.
Forming and Reinforcement
Setting the forms
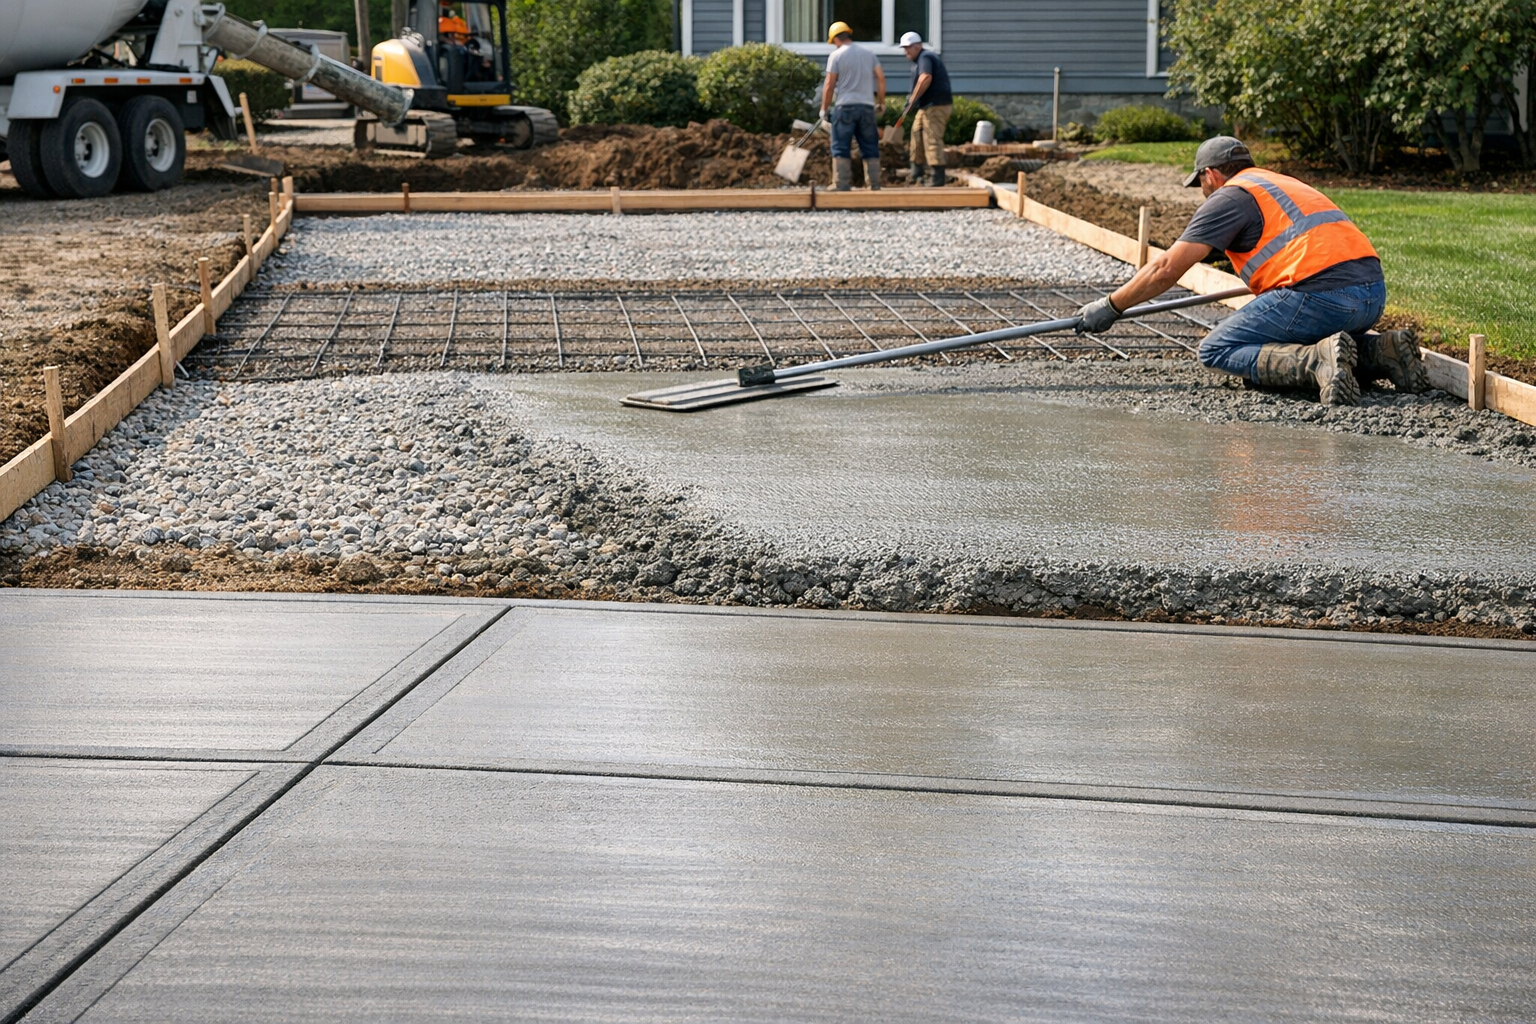
Once the base is ready, wooden or metal forms are set around the perimeter of the driveway. These forms act as a frame that holds the wet concrete in place until it hardens. They also help define the shape, size, and edge alignment of the driveway.
Contractors carefully check the slope of the forms to make sure water will drain away from the house and other structures. Proper grading is important for preventing pooling, erosion, and water damage.
Adding reinforcement
Depending on the design and expected load, reinforcement may be added before the pour. Common options include wire mesh, rebar, or fiber-reinforced concrete. Reinforcement helps distribute weight more evenly and reduces the risk of cracking.
While concrete can be strong on its own, reinforcement adds another layer of durability, especially for driveways that will see frequent vehicle traffic.
Pouring the Concrete
Mixing and delivery
Concrete is typically mixed off-site and delivered by truck. The mix must be correct for the climate, driveway use, and finish being installed. Temperature and weather conditions are also considered because they affect how quickly the concrete sets.
Timing matters here. Once the concrete arrives, the crew needs to work efficiently to place and level it before it begins to harden.
Placing and spreading the concrete
The concrete is poured into the forms and spread evenly across the driveway area. Workers use rakes, shovels, and screeds to move the material into place and remove excess concrete. The goal is to create a smooth, even slab with the correct thickness throughout.
During this stage, contractors also make sure the edges are filled properly and the surface remains consistent. Careful placement helps prevent low spots and structural weaknesses.
Finishing the Surface
Smoothing and texturing
After the concrete is leveled, it is finished to create the desired appearance and traction. A float may be used first to smooth the surface, followed by a broom finish or another texture. A broom finish is common for driveways because it provides slip resistance.
The chosen finish affects both function and appearance. Homeowners may also opt for decorative finishes, such as stamped or colored concrete, for a more custom look.
Cutting control joints
Control joints are cut into the concrete after it has set enough to support the process. These joints create planned weak points that help direct natural cracking in a controlled way. Without them, random cracks are more likely to form as the slab expands and contracts.
Properly spaced control joints are a key part of a long-lasting driveway installation.
Curing and Final Cleanup
Allowing the concrete to cure
Once the surface is finished, the concrete must cure. Curing is the process that allows concrete to gain strength over time. This stage is just as important as the pour itself because even well-installed concrete can fail if it dries too quickly.
Depending on weather conditions and the mix used, curing may involve water misting, curing blankets, or sealers. Homeowners are usually advised to avoid driving on the new driveway for several days or longer, depending on the contractor’s guidance.
Final inspection and cleanup
After the concrete has been placed and finished, the crew removes the forms, cleans up the site, and inspects the driveway for any issues. This includes checking edges, joints, drainage, and surface consistency. Minor touch-ups may be made if needed.
At this point, the driveway is ready to cure fully and eventually support regular vehicle use. With proper installation and maintenance, it should provide many years of reliable service.
Conclusion
The concrete driveway installation process involves more than simply pouring cement into a frame. It requires careful planning, solid excavation, a stable base, proper reinforcement, and attentive finishing and curing. When each step is done correctly, the result is a strong, attractive driveway that stands up to daily wear and changing weather.