Concrete Step Installation
Concrete step installation is one of the best ways to create a strong, long-lasting entrance for a home or building. Whether you are replacing worn-out stairs or adding new steps to a porch, properly installed concrete steps offer durability, low maintenance, and a clean finished look. The key to success is careful planning, proper site preparation, and attention to detail during forming, pouring, and finishing.
Why Choose Concrete Steps?
Concrete steps are popular because they can withstand heavy foot traffic, weather changes, and daily wear better than many other materials. Unlike wood, they do not rot, warp, or attract pests. Compared with some prefabricated options, poured concrete steps can also be customized to fit your exact space and design.
They also provide a stable and safe surface when built correctly. With the right finish, concrete steps can be textured for better traction, making them a smart choice for front entrances, patios, and garden walkways.
Plan the Layout Before You Start
Good concrete step installation begins with careful measurements. First, determine the total rise from the ground to the landing or porch. Then divide that height into evenly sized risers so each step feels comfortable and safe. Building codes often set limits for riser height and tread depth, so check local requirements before you start.
You should also decide how wide the steps need to be and whether they will connect to an existing slab, foundation, or walkway. Mark the footprint clearly using stakes, string, or spray paint. Planning ahead reduces mistakes and helps you estimate the amount of concrete, lumber, and reinforcement required.
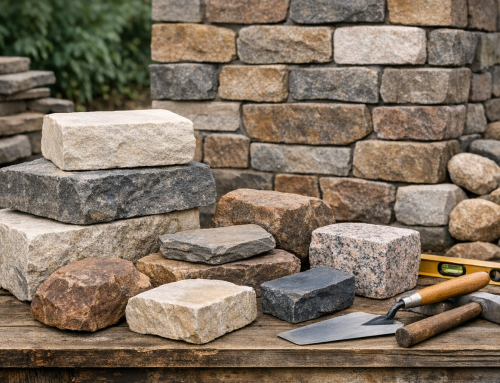
Gather Materials and Tools
Before beginning the project, make sure you have the right supplies. Most concrete step installations require concrete mix, lumber for forms, wood screws, rebar or wire mesh, gravel, stakes, and release oil or form release. Basic tools may include a shovel, level, tape measure, circular saw, drill, trowel, float, and wheelbarrow or mixer.
If the steps will be attached to a house or slab, you may also need expansion material or anchoring hardware. For larger or more complex stairs, it may be helpful to consult a professional to ensure the structure is built safely and properly supported.
Prepare the Base
The ground beneath the steps must be firm and well prepared. Start by excavating the area to the needed depth, removing grass, loose soil, and debris. Create a level, compacted base using gravel or crushed stone to improve drainage and reduce the chance of settling. A stable base is essential because even the strongest concrete can crack if the foundation shifts.
Compact the base thoroughly with a hand tamper or plate compactor. If the soil is soft or uneven, you may need to dig deeper and add more compacted material. Taking time at this stage can prevent costly repairs later.
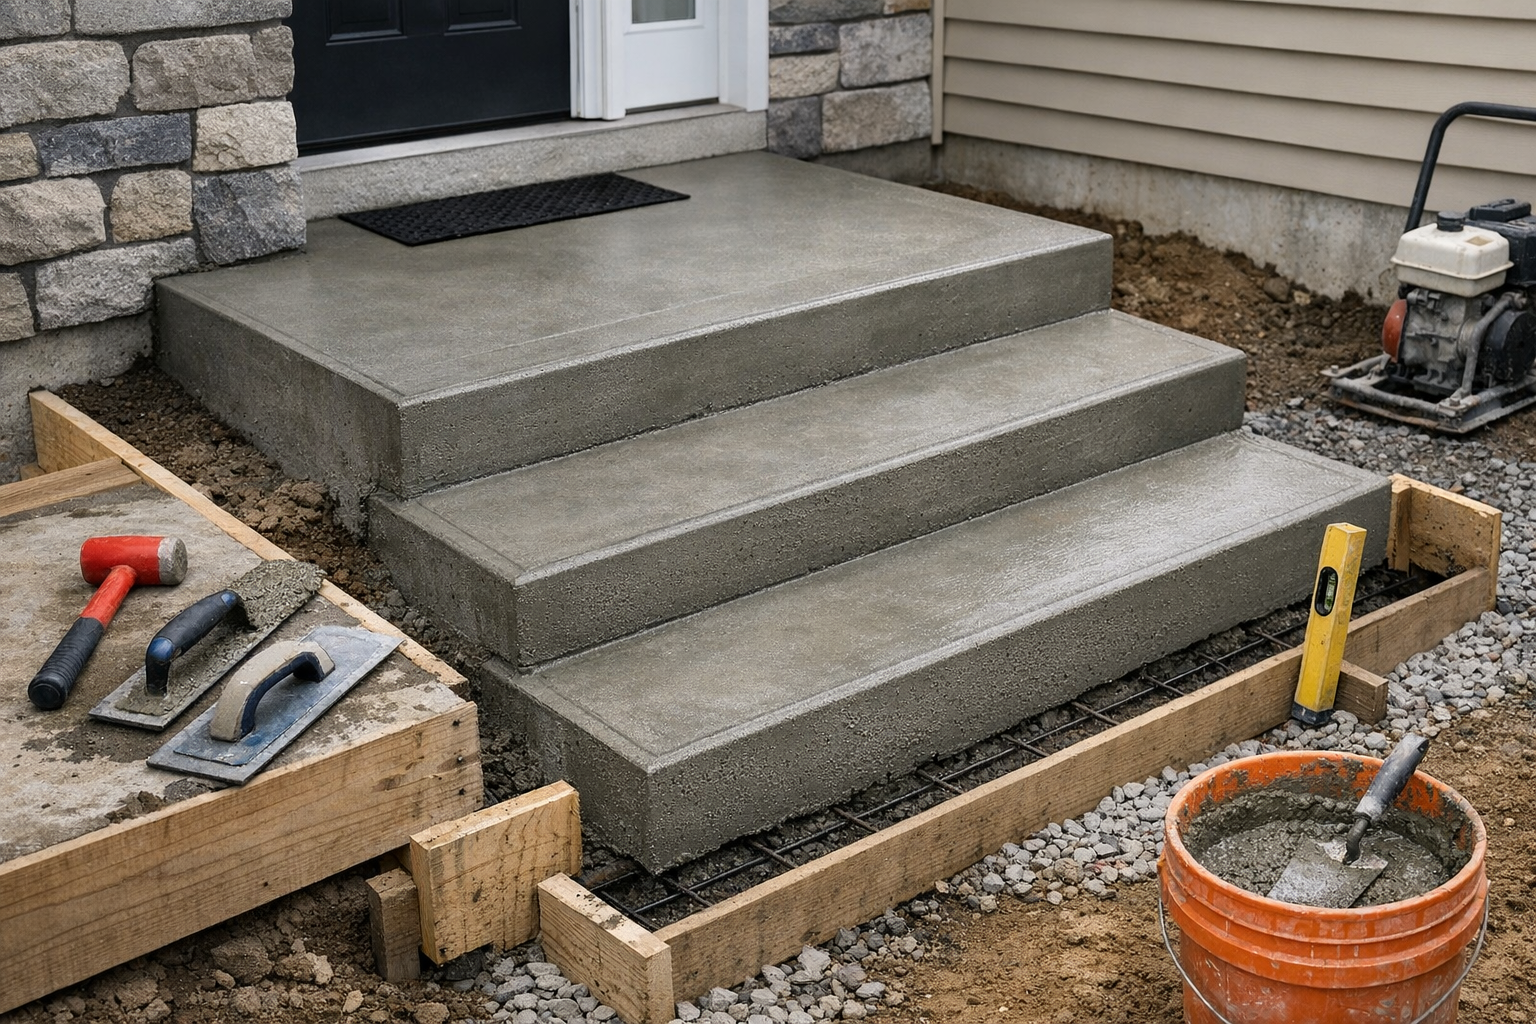
Build and Secure the Forms
Forms shape the concrete and determine the final size of the steps. Use straight lumber to build the outer frame and step risers. Cut each section carefully so the dimensions are accurate and consistent. Secure the forms with stakes so they do not move when concrete is poured.
Check the forms with a level to make sure the steps will sit evenly. If the stairs connect to an existing structure, leave the proper gap and align the form carefully with the landing. Apply form release if needed so the forms can be removed cleanly after the concrete cures.
Add Reinforcement for Strength
Reinforcement helps concrete steps resist cracking and hold up over time. Rebar, wire mesh, or both may be used depending on the size of the stairs and local building practices. Place the reinforcement so it sits within the body of the concrete rather than resting directly on the base.
For larger steps, short pieces of rebar can help tie the structure together. This is especially important in climates with freezing and thawing, where movement in the ground can stress the concrete. Proper reinforcement adds strength and improves long-term performance.
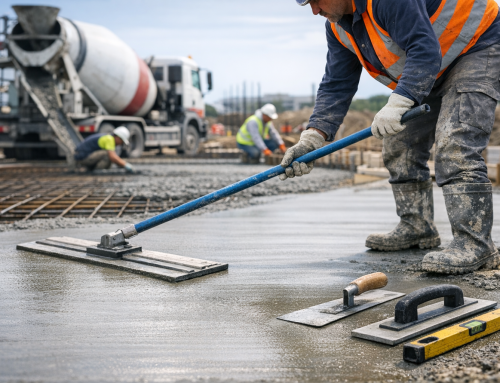
Pour and Shape the Concrete
When the forms are ready, mix the concrete according to the manufacturer’s directions. Pour it into the forms evenly, starting at the bottom and working upward. Use a shovel or hoe to move the mix into corners and eliminate air pockets. For deeper steps, pour in layers and consolidate each section as you go.
After filling the forms, screed off the top and use a trowel to shape the edges. Keep the risers and treads consistent so the stairs are comfortable to use. A slight slope on each tread can help shed water and reduce standing moisture.
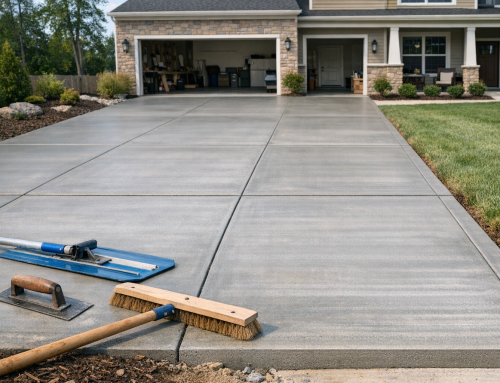
Finish the Surface for Safety and Appearance
The finish you choose affects both the look and safety of the steps. A smooth finish may look attractive, but a lightly textured surface is often better for traction. A broom finish is a common choice because it provides a subtle grip without being overly rough.
You can also round or slightly bevel the edges to reduce chipping and create a more polished appearance. If the steps are part of a decorative landscape or front entry, consider adding stain, stamped texture, or exposed aggregate for a more custom design.
Allow Proper Curing Time
Curing is one of the most important parts of concrete step installation. Even if the surface looks dry within a day or two, the concrete still needs time to gain strength. Keep the steps moist if recommended and protect them from extreme sun, wind, or freezing temperatures during the early curing period.
Avoid heavy use until the concrete has cured enough to support foot traffic safely. Depending on the mix and weather, this may take several days or longer. Full strength continues to develop over time, so patience pays off in durability.
Common Mistakes to Avoid
One of the most common mistakes is poor measurement. Uneven risers or treads can make stairs uncomfortable and unsafe. Another issue is weak base preparation, which can lead to settling and cracking. Rushing the curing process or removing the forms too early can also damage the finished steps.
It is also important not to skip reinforcement, especially for larger or exterior installations. Finally, make sure water can drain away from the steps rather than pooling near the foundation. Good drainage protects both the stairs and the surrounding structure.
When to Hire a Professional
Some concrete step projects are manageable for experienced DIYers, but others are best left to professionals. If the stairs are tall, attached to a structure, or built on sloped or unstable ground, expert help can save time and prevent serious problems. A professional contractor can also ensure the steps meet local codes and are properly reinforced.
Hiring a pro may be especially worthwhile if you want a decorative finish, need demolition of existing stairs, or are concerned about accessibility and safety requirements.
Conclusion
Concrete step installation is a worthwhile project when done with careful planning and solid workmanship. From accurate measurements and stable base preparation to proper pouring and curing, each step in the process matters. With the right approach, you can create durable, attractive stairs that improve both the function and curb appeal of your property for years to come.