Cementing a driveway is one of the best ways to create a durable, attractive surface that can stand up to daily traffic, changing weather, and regular wear. Whether you are replacing an old gravel drive or upgrading a cracked surface, a well-built concrete driveway can improve curb appeal and add long-term value to your home. The key is planning carefully, using the right materials, and following each step in the correct order.
Why Choose Concrete for a Driveway?
Concrete is a popular driveway material because it offers strength, longevity, and a clean, finished look. Compared with loose gravel or basic asphalt, a cemented driveway generally requires less ongoing maintenance and can last for decades when installed properly. It also performs well under heavy vehicles and is easier to keep free of weeds, ruts, and erosion.
Another advantage is versatility. Concrete driveways can be plain, broom-finished, stained, stamped, or edged to match the style of your home. If you want a surface that balances function and appearance, concrete is often a smart investment.
Planning Your Driveway Project
Before any concrete is poured, careful planning is essential. Start by measuring the driveway area and deciding on the thickness needed for your use. A typical residential driveway is often 4 inches thick, but areas that will support heavier vehicles may need more reinforcement.
You should also think about slope and drainage. Water must flow away from your home, garage, and any nearby structures. Poor drainage can lead to cracking, pooling, and premature failure. In many cases, a slight slope is all that is needed to guide water away safely.
Check local building codes and permits before starting. Some areas have rules about driveway width, setbacks, and drainage requirements. Taking care of these details early can save time and money later.
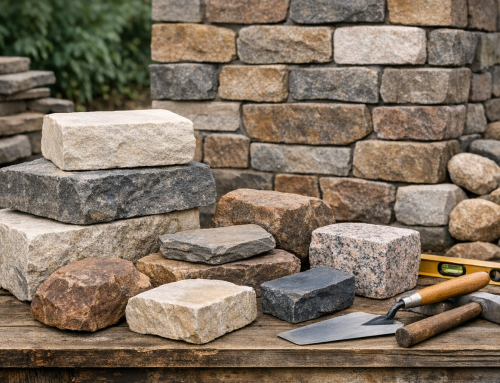
Materials and Tools You Will Need
To complete a concrete driveway, you will need more than just cement. Concrete is made from cement, sand, gravel, and water, and getting the mix right is crucial. You may also need reinforcement such as rebar or wire mesh, depending on the size and load requirements of the driveway.
Common tools include:
- Shovels and wheelbarrows
- Measuring tape and stakes
- String line
- Plate compactor or hand tamper
- Forms made of wood or metal
- Concrete mixer or delivery truck
- Screed board, float, and broom
- Safety gear such as gloves, boots, and eye protection
Having everything ready before the pour helps keep the project moving smoothly, especially because concrete begins setting soon after mixing.
Preparing the Ground
Excavation and Base Work
Good preparation makes all the difference in a driveway that lasts. Begin by removing grass, topsoil, rocks, and debris from the area. The ground should be excavated deep enough to allow for the concrete thickness plus a compacted base layer.
Next, install a base of crushed stone or gravel. This layer supports the concrete, improves drainage, and helps prevent shifting. Compact the base thoroughly so it is firm and even. A weak or uneven base can cause cracks and dips later on.
Setting Forms and Reinforcement
Forms create the shape and height of the driveway. They should be staked securely and aligned carefully so the finished surface is straight and level where needed. Use string lines to check the layout and maintain consistent slope.
If reinforcement is part of your design, place it on supports so it sits within the slab rather than resting on the ground. Proper positioning helps the concrete handle tension and reduces the chance of cracking.
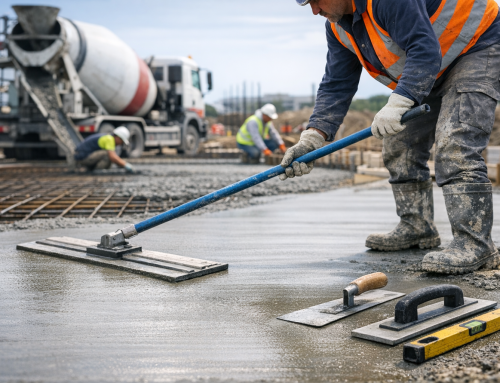
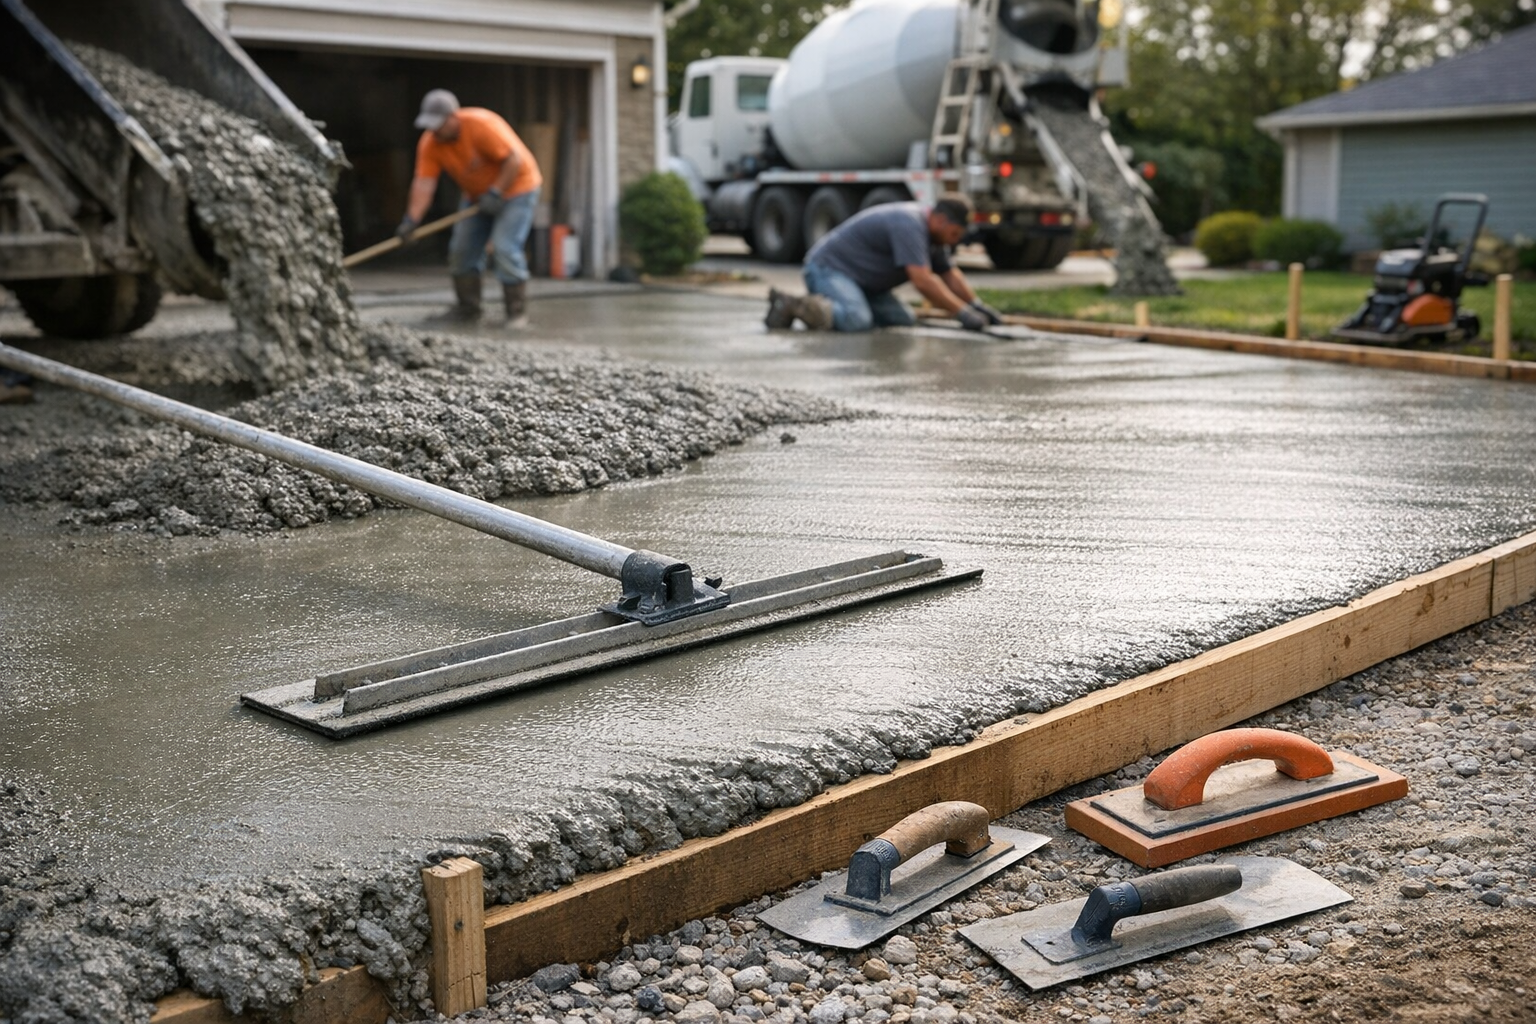
Pouring and Finishing the Concrete
When the base and forms are ready, it is time to pour. Concrete should be placed evenly across the driveway and worked quickly to avoid cold joints or uneven setting. Use a screed board to level the surface, moving it back and forth across the forms to remove excess material.
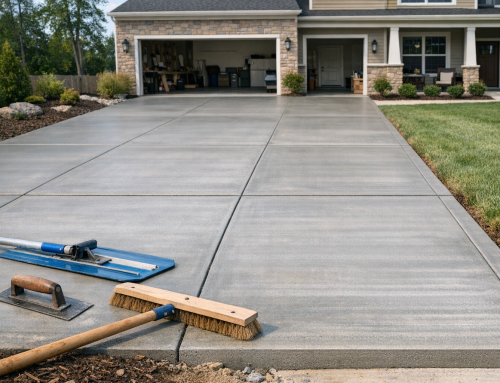
After screeding, use a float to smooth the surface and help bring fine particles to the top. For driveways, a broom finish is often the best choice because it adds traction and helps prevent slipping when the surface is wet.
Control joints are also important. These planned lines encourage cracking to occur in predictable places rather than randomly across the slab. They are usually cut or tooled into the concrete at regular intervals.
Curing the Driveway Properly
Curing is one of the most important steps in cementing a driveway. Concrete may look hard after a short time, but it continues gaining strength for weeks. Keeping it moist during the early curing period helps improve durability and reduce surface cracking.
Depending on conditions, you may need to cover the slab with plastic sheeting, apply a curing compound, or lightly mist it with water. Try to avoid walking on the surface too soon, and keep vehicles off the driveway until it has cured enough to handle the load. Rushing this step can damage the finish and shorten the life of the driveway.
Common Mistakes to Avoid
One common mistake is skipping base preparation. Even high-quality concrete will struggle on poorly compacted ground. Another issue is adding too much water to the mix, which can weaken the slab and increase cracking. It is also important not to pour in extreme weather without proper precautions, as heat, cold, and rain can affect the final result.
Neglecting joints, drainage, or curing can also lead to costly problems. A driveway that is built carefully from the start will usually perform better and require fewer repairs over time.
Maintenance Tips for a Longer-Lasting Driveway
Once your driveway is in place, simple maintenance can help preserve it. Keep it clean by sweeping away dirt and washing off oil or chemical spills as soon as possible. Seal the surface if recommended for your climate or finish type, since sealing can help resist moisture and stains.
Check for small cracks or edge damage periodically and repair them early before they spread. Avoid using harsh de-icing chemicals if possible, and be careful with heavy equipment or sharp objects that could damage the surface.
Conclusion
Cementing a driveway is a worthwhile project when it is planned and built correctly. From base preparation to curing, each step plays an important role in the strength and appearance of the finished surface. With proper installation and regular upkeep, a concrete driveway can serve your home well for many years.