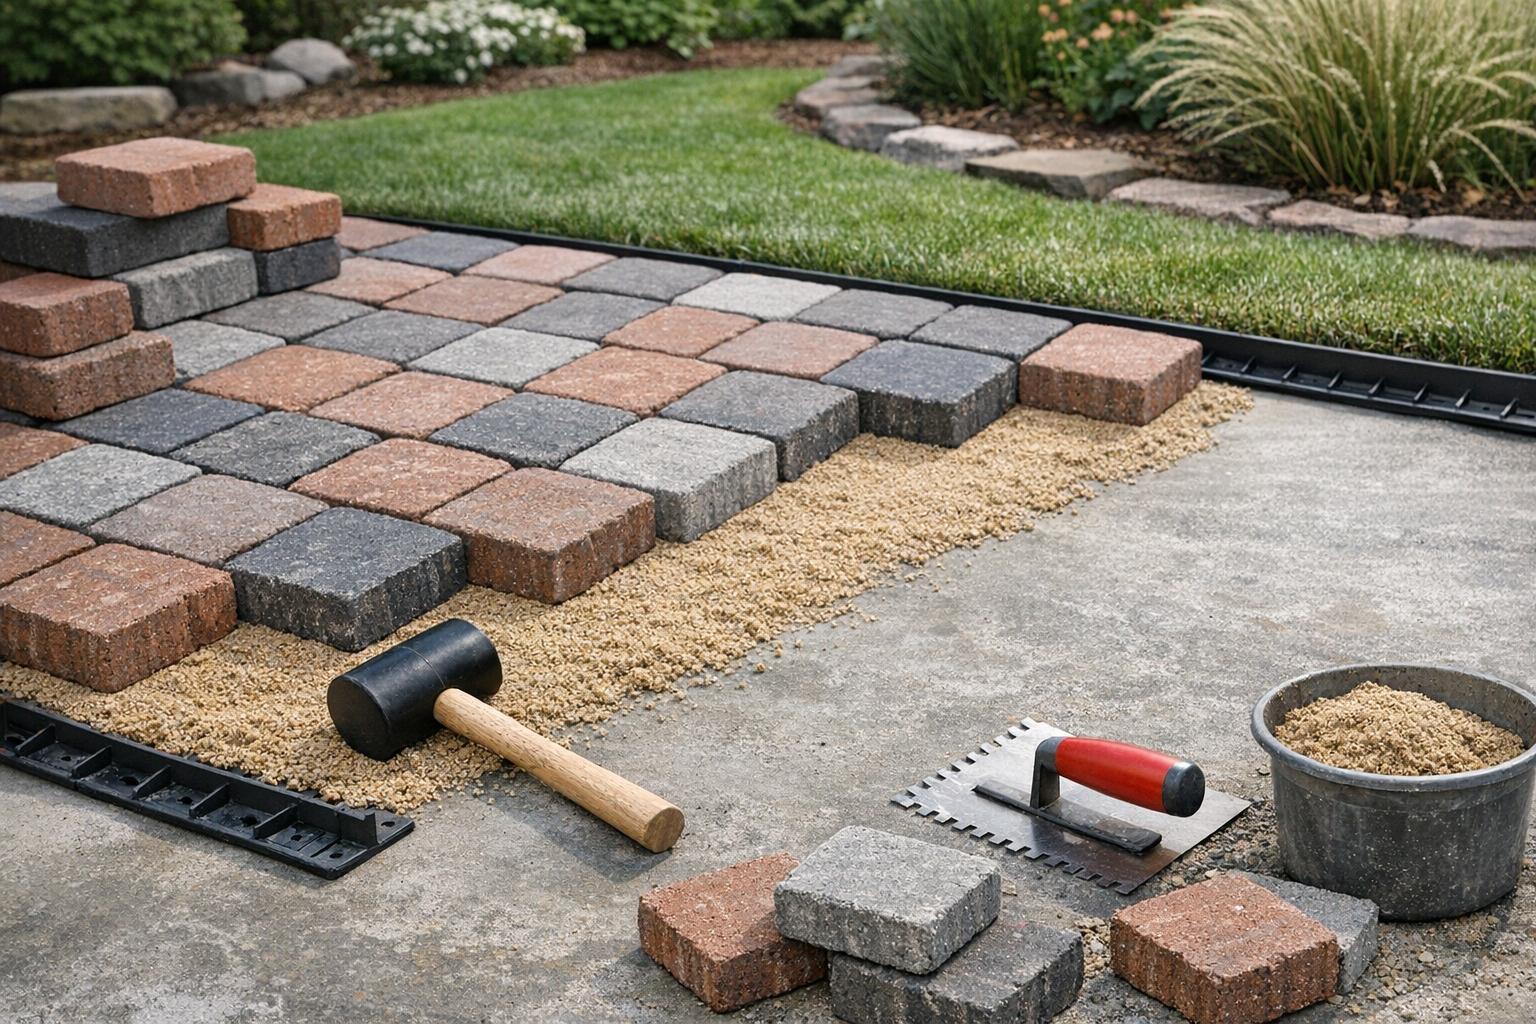
If you already have an old concrete patio, walkway, or driveway, you may not need to tear it out to get a fresh new look. In many cases, paver installation on concrete is a smart way to upgrade the surface without starting from scratch. When done correctly, it can create a beautiful, long-lasting finish that adds curb appeal and improves usability.
Why Install Pavers Over Concrete?
Installing pavers over concrete is often faster and less disruptive than full demolition. It can be a cost-effective solution when the existing slab is structurally sound but visually outdated or lightly damaged. Instead of removing the old surface, the concrete acts as a base for the new paver layer.
This approach is especially useful when you want to improve aesthetics, raise the surface height slightly, or repair small cosmetic flaws. Pavers also offer a wider range of colors, shapes, and textures than plain concrete, making it easier to match your home’s style.
When Concrete Is a Good Base
Not every concrete surface is suitable for paver installation. The slab should be stable, level enough, and free from major cracking or settling. Minor hairline cracks are usually not a concern, but large cracks, sinking areas, or severe heaving may signal deeper structural issues.
Drainage is another important factor. If water already pools on the concrete, covering it with pavers will not solve the problem. In fact, it may make it worse if the surface cannot properly shed water. Before beginning the project, check that the slab slopes away from the house and that water can move off the area naturally.
Benefits of Paver Installation on Concrete
There are several advantages to this method. First, it reduces demolition work, which saves time and labor. Second, it allows you to hide stained, cracked, or weathered concrete beneath a polished new finish. Third, pavers are easier to replace individually if one becomes damaged in the future.
Another benefit is versatility. A paver overlay can transform a plain slab into a more refined outdoor space, whether you want a classic brick look, modern geometric pattern, or natural stone appearance. For homeowners looking to boost property value, this type of upgrade can make a strong visual impact.
Preparation Is the Key to Success
Good preparation makes the difference between a project that lasts and one that shifts or fails. Start by cleaning the concrete thoroughly. Remove dirt, grease, moss, loose debris, and any old sealants that might interfere with adhesion or drainage. A pressure washer can help, but let the surface dry fully before moving forward.
Next, inspect the slab carefully. Fill small cracks if needed and repair any unstable sections. If the concrete is badly damaged, it may be better to remove it and install pavers on a proper base instead. You should also measure the area and plan the finished height so doors, thresholds, and steps remain functional.
Materials and Tools You’ll Need
For a typical paver overlay project, you’ll need pavers, edge restraints, a bedding layer such as sand or mortar depending on the method, a broom, a level, spacers, and cutting tools for edges. Some installations also use a drainage layer or polymeric sand to help lock joints in place.
The exact materials depend on the condition of the concrete and the style of installation you choose. Because height and moisture management matter, it is important to select products designed for exterior use and to follow manufacturer recommendations closely.
How the Installation Process Works
Step 1: Clean and Repair the Surface
Begin by making sure the concrete is clean, dry, and sound. Patch minor damage and remove anything that could create bumps or weak points under the new pavers.
Step 2: Plan the Layout
Dry-lay a section of pavers to confirm the pattern, alignment, and final appearance. This is the time to decide where cuts will be needed and how the pavers will meet walls or edges.
Step 3: Add the Setting Layer
Depending on the system, you may use a thin layer of sand, mortar, or another approved bedding material. This layer helps create a level, stable base for the pavers.
Step 4: Place the Pavers
Set each paver carefully, maintaining even spacing and the correct pattern. Check levels frequently so the finished surface looks clean and feels stable underfoot.
Step 5: Secure the Edges
Edge restraints help keep pavers from shifting outward over time. This is especially important for patios and walkways that receive regular use.
Step 6: Fill the Joints
Once the pavers are in place, sweep joint sand into the gaps. In some applications, polymeric sand is used to help stabilize the surface and reduce weed growth.
Common Mistakes to Avoid
One of the biggest mistakes is installing pavers over concrete that is already failing. If the slab moves or cracks significantly, the new surface will likely inherit those problems. Another common issue is ignoring drainage. Water trapped between layers can lead to shifting, mildew, or freeze-thaw damage.
It is also important not to rush the layout. Poor alignment, inconsistent spacing, and uneven height can make the surface look amateurish and create trip hazards. Taking time to measure, level, and finish the edges properly will pay off in the long run.
Maintenance Tips for Long-Term Results
Once the project is complete, maintenance is fairly simple. Sweep the surface regularly to remove dirt and debris. Rinse occasionally with water and inspect the joints for sand loss or weed growth. If needed, reapply joint sand to keep everything tight.
Sealing the pavers can help protect color and reduce staining, though it is not always required. If you do seal them, use a product suited to the paver material and outdoor conditions. Over time, check for any movement or settling and address small issues early before they become larger repairs.
Is DIY or Professional Installation Better?
Some homeowners can handle a small paver overlay project on their own, especially if the area is simple and the concrete is in excellent condition. However, larger or more complicated installations often benefit from professional help. Drainage, slope, and edge details can be tricky, and mistakes may be expensive to fix later.
If you are unsure about the slab’s condition or the best installation method, consulting a professional can save time and help ensure a better outcome. A skilled installer can also recommend the right materials for your climate and intended use.
Conclusion
Paver installation on concrete can be an excellent way to refresh an outdoor space without the mess and cost of full concrete removal. With the right preparation, materials, and installation method, you can create a surface that looks attractive, performs well, and stands up to everyday use. Whether you tackle it yourself or hire a pro, careful planning is the key to a successful result.