Paver Installation on Concrete: What You Need to Know Before You Start
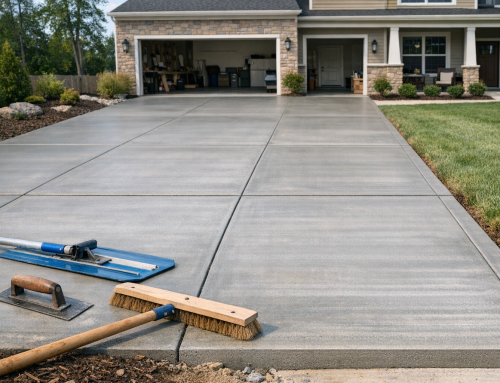
Installing pavers over an existing concrete slab can be a smart way to refresh a patio, walkway, or driveway without the cost and mess of full demolition. When done correctly, this method can create a durable, attractive surface that hides old concrete while improving curb appeal. But paver installation on concrete is not as simple as placing bricks on top and calling it a day. The success of the project depends on proper preparation, drainage planning, and choosing the right materials.
Can You Install Pavers on Concrete?
Yes, pavers can be installed on concrete in many cases, but the slab has to be in good condition. If the concrete is severely cracked, uneven, sinking, or deteriorating, it may not be a suitable base. Small surface cracks are often manageable, but structural problems usually need to be corrected before any pavers are added.
This approach is most common for patios, porches, and some walkways. Driveways can also be candidates, but they require extra attention because they must handle heavier loads. In every case, the existing concrete must be stable enough to support the new installation.
Benefits of Installing Pavers Over Concrete
There are several advantages to using pavers over an existing slab. First, it can save time and labor since you do not need to remove the old concrete. That often makes the project more affordable and less disruptive.
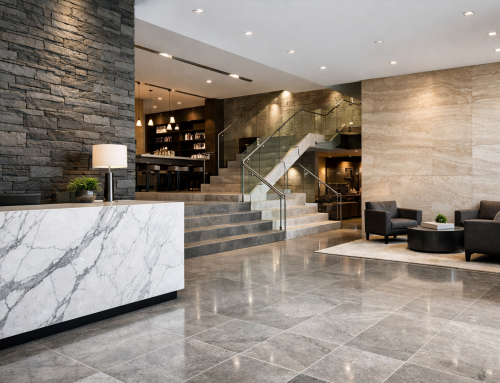
Second, pavers provide a fresh look. You can choose from many colors, shapes, and patterns to create a surface that fits your home’s style. They also make it easier to repair damage later because individual pavers can be replaced instead of tearing out an entire slab.
Another benefit is improved curb appeal. A worn, stained, or plain concrete surface can look brand new once covered with pavers. For homeowners looking to update an outdoor space quickly, this is often a strong option.
When Paver Installation on Concrete Is Not a Good Idea
Not every slab is suitable for this kind of project. If the concrete is cracked in a way that suggests movement, the pavers may shift or fail over time. Poor drainage is another major issue. Water trapped between the concrete and the pavers can lead to erosion, mold, or freeze-thaw damage.
Very uneven slabs can also cause problems. While minor imperfections can sometimes be corrected with a leveling layer, large slopes, dips, or heaving usually mean the base needs repair before installation. If the existing surface is too damaged, it is often better to remove it and start fresh.
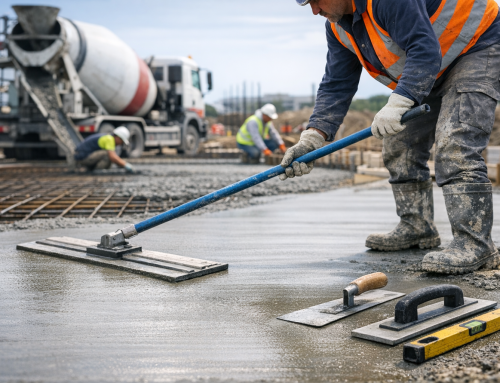
Preparation Steps for a Successful Project
Inspect and Clean the Surface
Start by inspecting the concrete for cracks, pits, loose sections, and drainage issues. Any debris, grease, or dirt should be removed thoroughly. A clean surface helps the new layers bond and perform properly.
Repair Major Damage
Fill small cracks and patch minor holes as needed. If the slab has major structural problems, consult a professional before proceeding. Stability is essential because the pavers will only be as good as the base underneath them.
Plan for Drainage
Drainage is one of the most important parts of paver installation on concrete. Water must have a way to escape so it does not collect under the finished surface. In some cases, this means adding a slight slope, installing edge drainage, or using materials that allow water to move through the system.
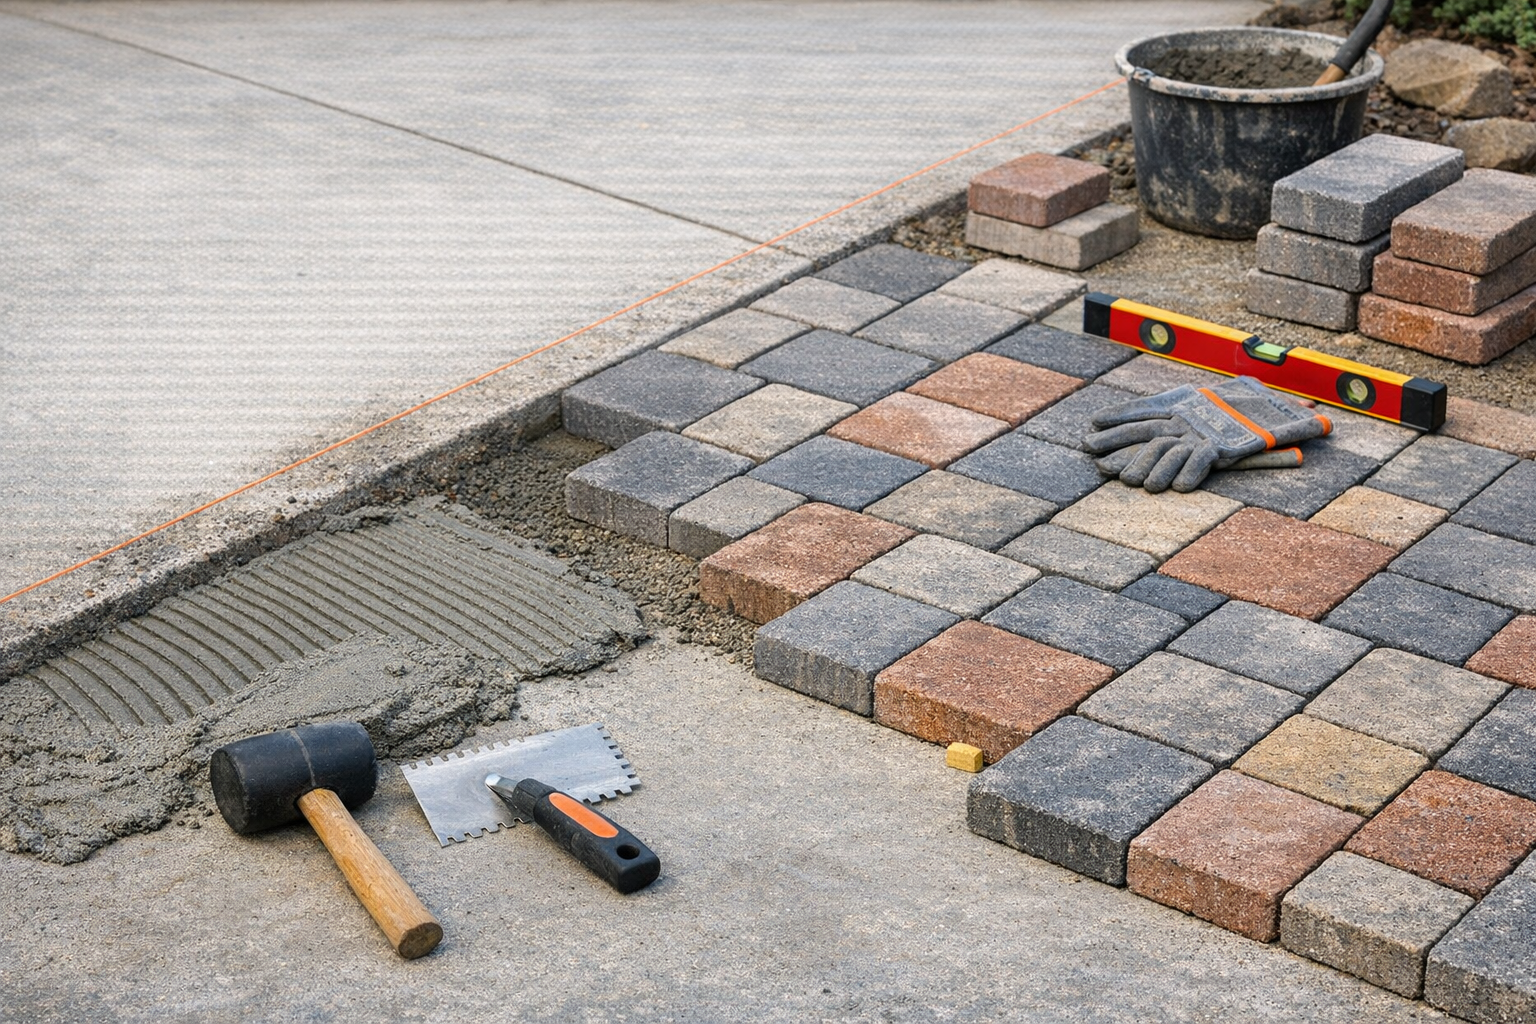
Add a Proper Setting Layer
Pavers are usually not placed directly on bare concrete without a buffer. Depending on the project, installers may use a mortar bed, thin setting layer, or other approved bonding method to keep the pavers stable. The right method depends on the location, expected traffic, and condition of the slab.
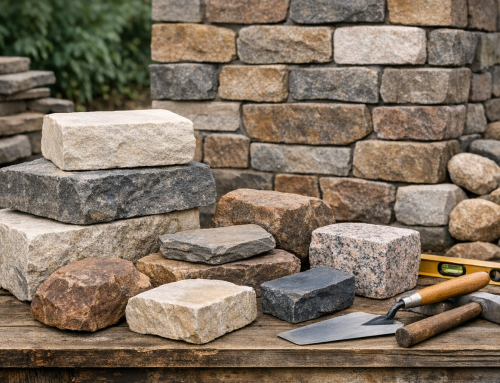
Choosing the Right Pavers and Materials
The best pavers for installation over concrete are durable and suited to the environment where they will be used. Concrete pavers, brick pavers, and natural stone options can all work well when installed correctly. The key is selecting materials with the right thickness and strength for the project.
You will also need quality edge restraints, joint sand or grout, and any adhesives or mortar specified for your installation method. Using the wrong products can lead to shifting, cracking, or premature wear. It is worth following manufacturer recommendations closely.
Common Mistakes to Avoid
One of the biggest mistakes is ignoring drainage. Even a beautiful paver surface can fail if water gets trapped beneath it. Another common error is installing over concrete that is already moving or badly damaged.
Some homeowners also skip surface preparation, such as cleaning or patching the slab. Others use the wrong adhesive or setting material, which can cause the pavers to loosen over time. Finally, rushing the layout or failing to maintain consistent spacing can affect both appearance and performance.
Should You DIY or Hire a Professional?
Some experienced homeowners can handle smaller paver projects, especially on simple patios or walkways. However, paver installation on concrete can be tricky because of drainage, leveling, and material selection. A professional installer can evaluate the slab, recommend the best system, and reduce the risk of costly mistakes.
If the project involves a large area, sloped surface, or vehicle traffic, hiring a professional is often the safer choice. A well-planned installation can last for years and save money in the long run.
Conclusion
Paver installation on concrete is a practical way to improve the look and function of an outdoor surface, but it only works when the existing slab is sound and the installation is done correctly. With proper preparation, good drainage, and the right materials, you can create a long-lasting finish that adds beauty and value to your home.