Introduction
A well-installed driveway improves curb appeal, protects your landscaping, and provides a durable, safe surface for vehicles and pedestrians. Whether you’re planning a new driveway or replacing an old one, understanding the process, materials, costs, and maintenance needs will help you get the best result.
Planning Your Driveway
Good planning is the foundation of a successful driveway project. Start by assessing the space, traffic patterns, and any local zoning or homeowners association rules.
Assess Site Conditions
- Measure the length and width to estimate material and labor costs.
- Check the slope and natural drainage — a steep grade may need additional excavation or retaining walls.
- Identify utility lines and tree roots that could affect excavation.
Set a Budget and Timeline
Costs vary by material and site complexity. Factor in excavation, materials, labor, drainage solutions, and finishing touches like lighting or edging. Seasonal timing matters: many contractors are busiest in spring and summer.
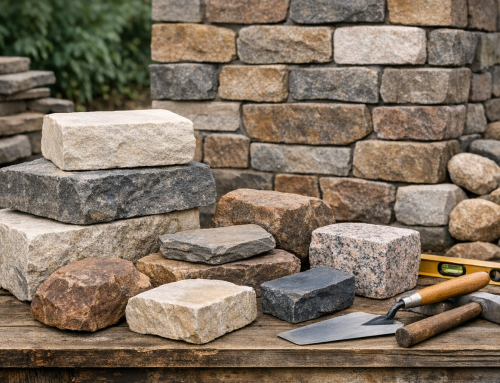
Choosing Materials
Select a material that suits your budget, aesthetic preferences, and local climate. Each choice has pros and cons.
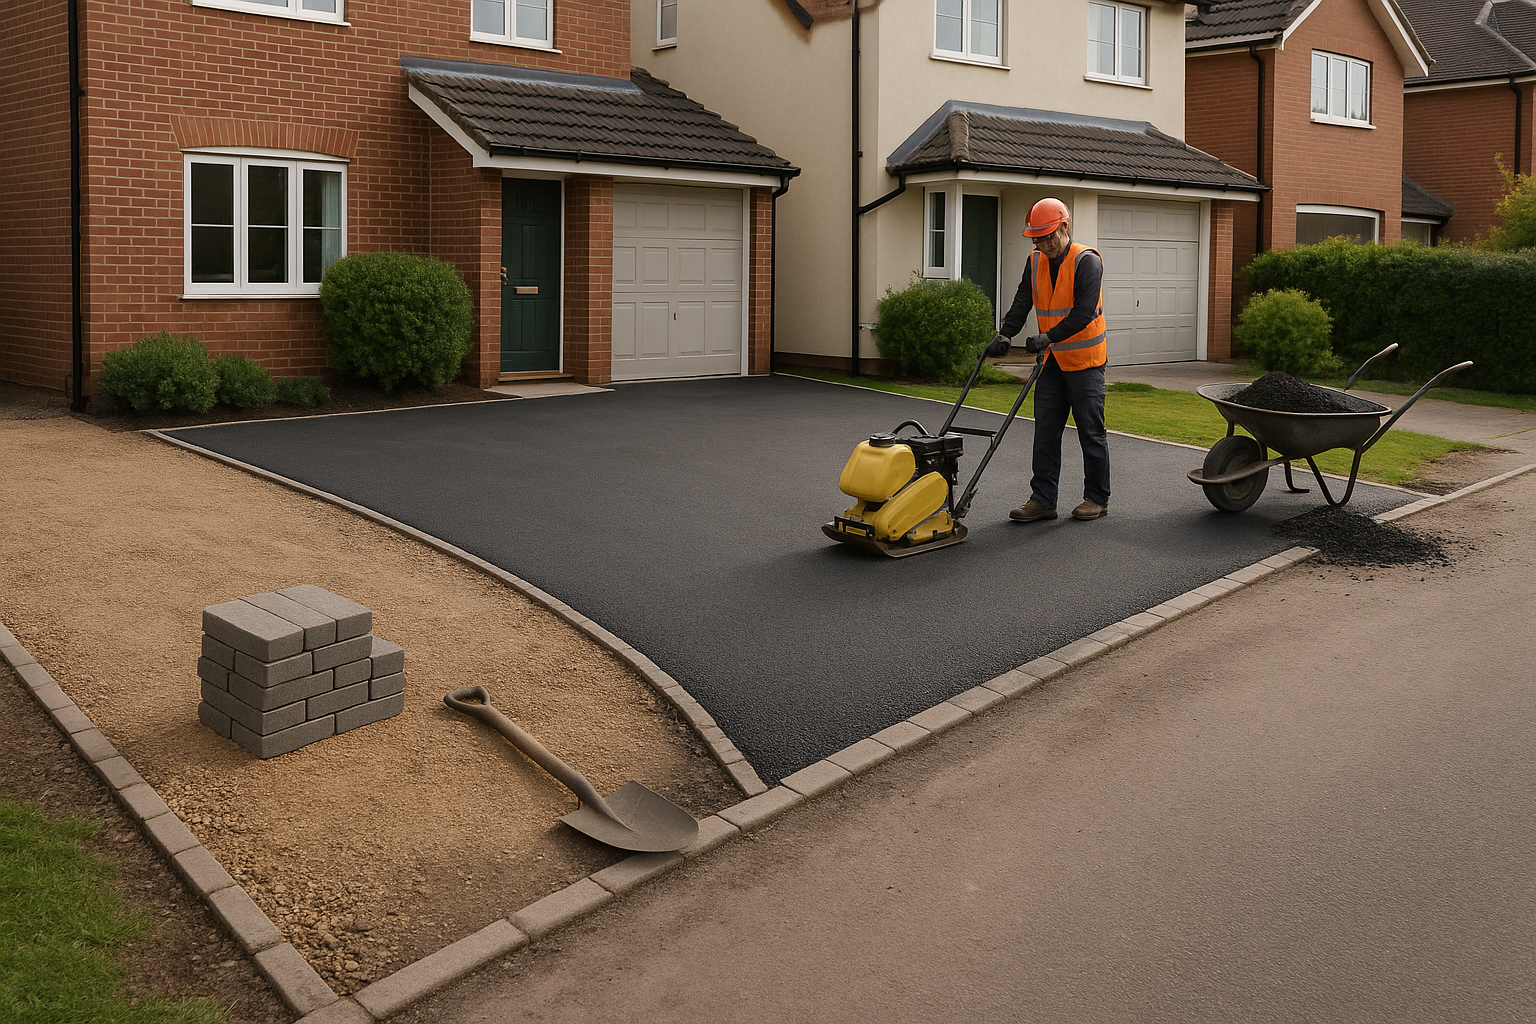
Asphalt
Asphalt is cost-effective, flexible in cold climates, and quicker to install. It requires regular sealing every few years to maintain appearance and longevity.
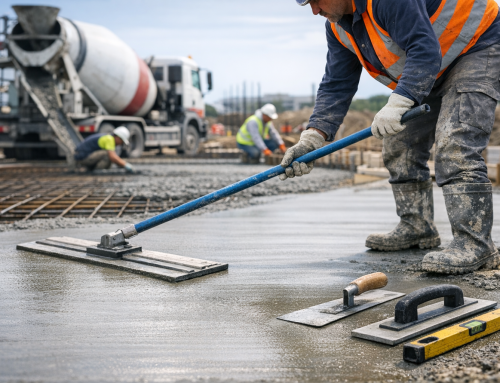
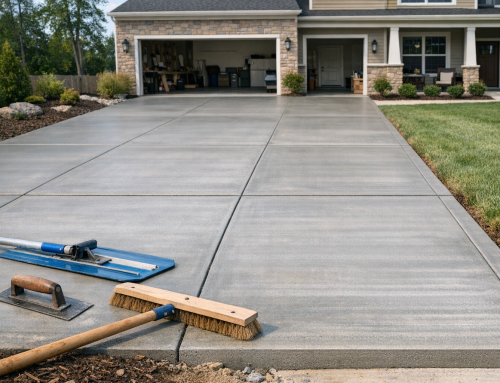
Concrete
Concrete offers a clean look and long lifespan. It can be stamped or colored for decorative effects. Proper subbase and control joints are essential to prevent cracking.
Pavers
Pavers (brick, stone, or concrete units) provide great aesthetics and allow easy repairs since individual units can be replaced. Installation is labor-intensive and can be more expensive.
Gravel
Gravel is the most affordable option and offers excellent drainage. It requires periodic replenishment and can shift or rut under heavy traffic.
Permits and Regulations
Before breaking ground, check local building codes and HOA rules. Some areas require permits for new driveways, runoff management, or curb cuts. Failing to get permits can lead to fines or costly rework.
Preparing the Site
Proper site preparation ensures durability.
Excavation
Excavate to the required depth based on material: gravel and pavers typically need a deeper base than asphalt or concrete. Remove topsoil and organic material to prevent settling.
Base Preparation
Install a compacted base of crushed stone or aggregate. Proper compaction prevents future sinking and ensures structural integrity. Edge restraints are important for pavers and gravel to maintain shape.
Installation Process
While exact steps depend on your material choice, the general sequence includes grading, base compaction, surface installation, and finishing.
Surface Installation
- For asphalt: apply a binder course and a topcoat, compacting each layer.
- For concrete: pour, screed, and finish; include control joints to manage cracking.
- For pavers: lay sand bedding, place pavers, compact, and sweep jointing sand into seams.
- For gravel: spread and compact multiple lifts, then finish with a top layer of smaller aggregate.
Curing and Compaction
Allow concrete and asphalt to cure per manufacturer recommendations before driving on them. Proper compaction of the base and surface layers is crucial to long-term performance.
Finishing Touches and Drainage
Add edging, sealcoating, lighting, and drainage solutions. Good drainage prevents pooling and reduces freeze-thaw damage.
Drainage Options
- Install a gentle slope away from the house (minimum 1-2% is common).
- Use trench drains, catch basins, or French drains where necessary.
- Permeable pavers are an eco-friendly option that reduces runoff.
Maintenance and Care
Routine maintenance extends your driveway’s life and keeps it looking good.
Seasonal Tips
- Sealcoat asphalt every 2–4 years.
- Repair small concrete cracks early to prevent expansion.
- Replenish gravel and recompact as needed.
- Keep drains and gutters clear of debris.
Repairing Common Issues
Address potholes, ruts, or settled sections promptly. Small repairs are less expensive than full replacements.
DIY vs Hiring a Pro
Simple gravel or small paver projects can be DIY-friendly for skilled homeowners. However, for asphalt or concrete driveways, complex grading, or drainage challenges, hiring an experienced contractor usually saves time and prevents costly mistakes. Get multiple quotes, check references, and confirm licensing and insurance.
Conclusion
Driveway installation is a significant home improvement that combines planning, material selection, and quality workmanship. With proper preparation and maintenance, your new driveway will enhance both the function and value of your property for years to come.