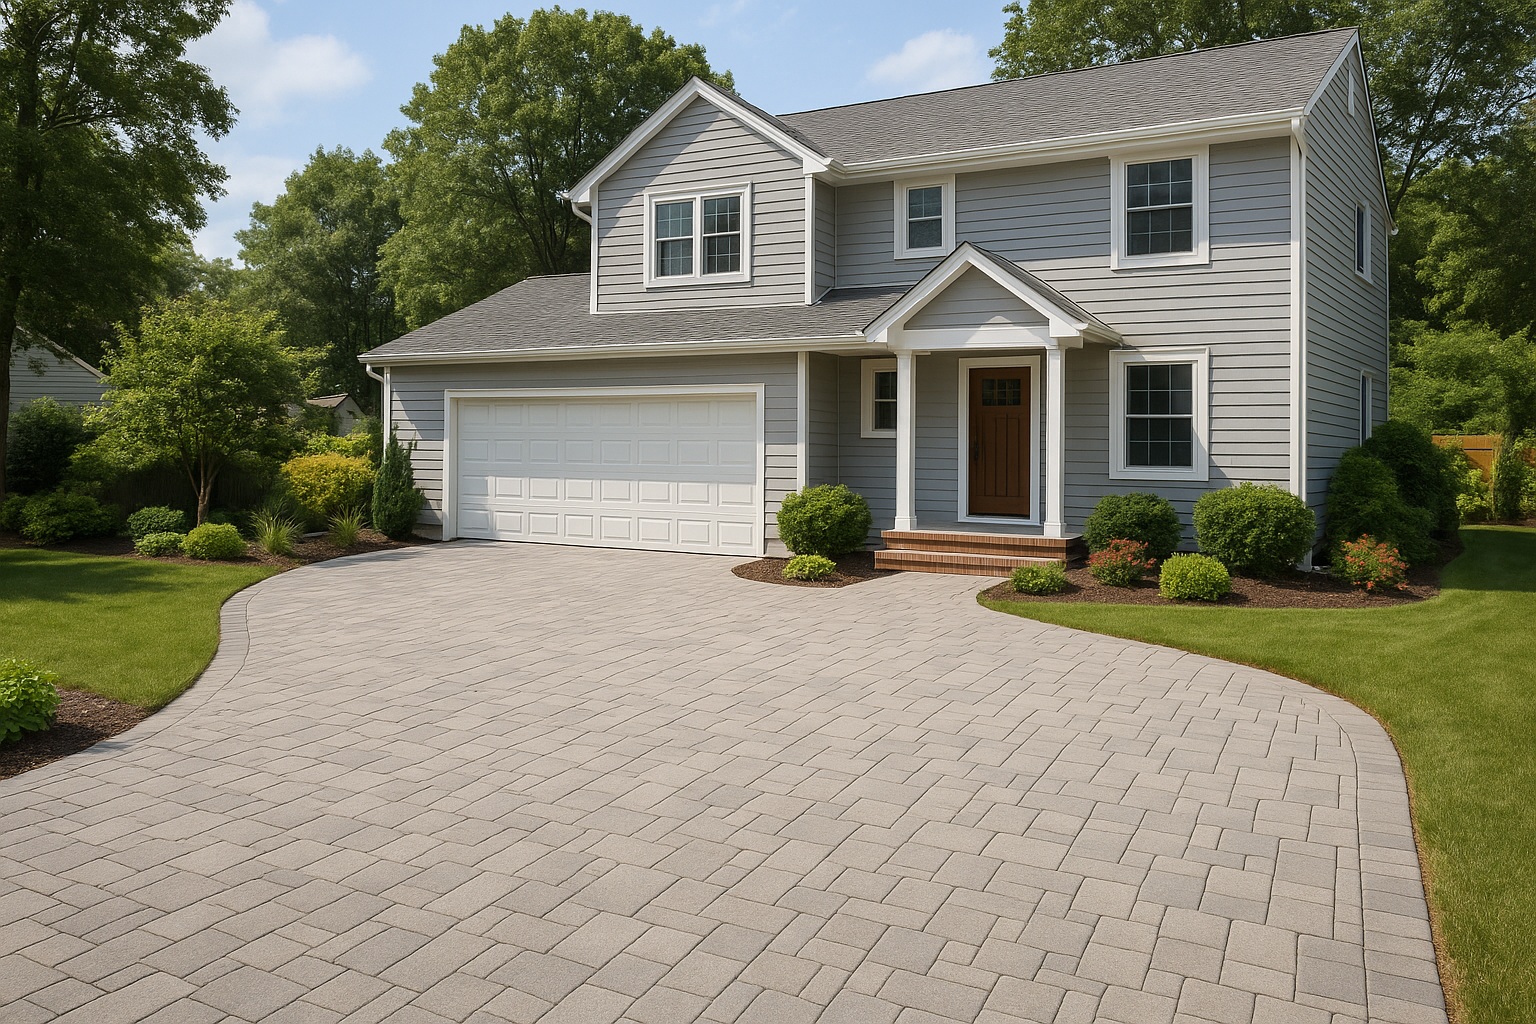
Installing pavers over an existing concrete patio, walkway, or driveway can refresh a worn surface without the time and expense of removing the slab. The concrete provides a firm base, but a successful overlay depends on careful planning. Drainage, slab condition, finished height, and the right installation system all matter.
Here’s how to decide whether your concrete is a good candidate and what to expect from the installation process.
Can You Install Pavers Over Concrete?
In many cases, yes. An overlay may work well when the concrete is stable, reasonably level, and sloped so water drains away from buildings. It is generally not a good solution for a slab with major movement, severe cracking, standing water, or a poor pitch. Pavers can improve the appearance of the surface, but they won’t fix an underlying drainage or structural problem.
Check the slab before you begin
Look for wide or uneven cracks, areas that have lifted or settled, crumbling concrete, and signs that water regularly pools on the surface. A few small, stable cracks may not rule out an overlay, but significant movement can transfer to the pavers above. If you are unsure whether a crack is active or the slab is sound, ask a qualified paving contractor to assess it.
Benefits and Possible Drawbacks
Covering concrete can save demolition and disposal costs, reduce construction time, and give an old patio or path a fresh look. Pavers also come in a range of colors, shapes, and textures, making it easier to coordinate the surface with your home and landscaping.
The main trade-off is added height. A new layer may interfere with door thresholds, steps, gates, garage doors, drains, or utility covers. An overlay can also trap water if the installation blocks drainage openings or leaves no way for moisture to escape. Check these details before buying materials; removing concrete may be the better choice when height or drainage cannot be resolved.
Choose the Right Paver System
Use pavers and installation materials intended for an overlay on concrete. Thin overlay pavers are often designed for this application, while standard-thickness pavers may raise the surface more than expected. Follow the paver manufacturer’s instructions for the approved base, bedding material, joint treatment, and edge restraint.
Overlay systems vary. Some use a drainage or separation layer and a specified bedding material; others call for a bonded installation. Don’t assume that a typical sand-set paver method for soil is automatically suitable over a concrete slab. Water management is especially important because the concrete below is not permeable.
How to Install Pavers Over Concrete
1. Plan the layout and finished height
Measure the area and sketch the layout, including borders and cuts. Account for the full build-up of the system, including the pavers, bedding or drainage layer, and edge restraints. Confirm that doors can still open, steps remain safe, and water can move away from the house. Preserve access to drains and service covers.
2. Clean and prepare the concrete
Remove furniture, loose debris, dirt, moss, and any peeling coating. Wash the surface with a suitable cleaner and allow it to dry as directed by the installation-system manufacturer. Repair small defects only with products compatible with the chosen system. Avoid covering loose or deteriorating concrete, since an overlay needs a dependable base.
3. Address drainage and set the perimeter
Confirm that rainwater has a clear path off the slab and away from the building. Do not block existing drain openings. If the slab holds water, correct the issue before installing pavers rather than relying on the new surface to hide it. Install the specified edge restraints securely around the perimeter; these help keep pavers from shifting over time.
4. Install the approved base layer and lay the pavers
Place the system’s required separation, drainage, or bedding layer according to its instructions. Work in manageable sections and keep the layer even. Start from a straight reference edge, maintain consistent joints, and check alignment as you go. Use a saw designed for masonry to make clean cuts, wearing appropriate eye, hearing, and respiratory protection.
5. Finish the joints and inspect the surface
Apply the joint material recommended for the system, then clean the paver faces as directed. Some installations call for sweeping in joint sand; others require a different product or method. Don’t substitute materials without checking compatibility. Inspect the finished surface for loose pavers, blocked drainage, sharp edges, and trip hazards.
Common Mistakes to Avoid
- Ignoring cracks or movement: An unstable slab can undermine the overlay.
- Forgetting added height: Check thresholds, stairs, gates, and garage access before work begins.
- Trapping water: Maintain drainage paths and use a system designed for concrete.
- Skipping edge restraint: Unsupported paver edges can spread or shift.
- Mixing incompatible materials: Follow the paver and system manufacturer’s specifications.
Conclusion
Paver installation over concrete can be an efficient way to update a sound, well-drained surface. Inspect the slab, plan for the added height, and choose a system made for overlays. When the concrete is badly damaged or drainage cannot be corrected, removing the slab may provide a more dependable long-term result.