Introduction
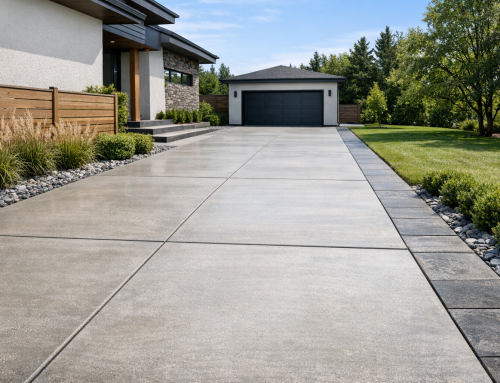
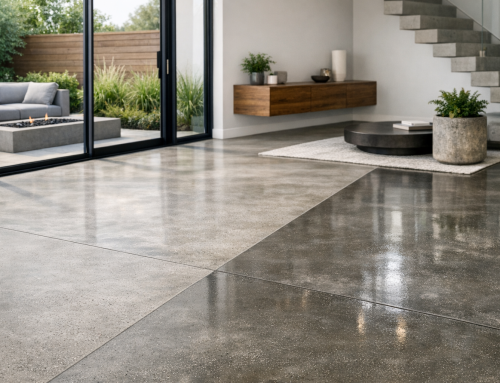
Concrete is one of the most durable and versatile building materials available, used for driveways, patios, foundations, walkways, and more. Proper concrete installation is key to achieving a long-lasting, crack-resistant surface. This guide walks through planning, preparation, materials, step-by-step installation, common mistakes, maintenance, cost considerations, and when to hire a professional.
Planning and Preparation
Site Assessment
Start with a thorough site assessment. Check slope and drainage to avoid water pooling, identify underground utilities, and evaluate soil type. Good drainage and a stable subgrade reduce movement and cracking. Mark out the area and measure volumes to estimate materials.
Permits and Building Codes
Local building codes often dictate thickness, reinforcement, and control joint placement. Check permit requirements before you begin. Failing to follow codes can lead to costly repairs or removal.
Materials and Tools
Concrete Mix Types
Choose the right mix for your project. Standard ready-mix concrete (3,000–4,000 psi) is suitable for most residential slabs. For heavy loads, such as commercial driveways, a higher-strength mix (4,000–5,000 psi) or admixtures for improved durability may be required. Consider air-entrained concrete for freeze-thaw environments.
Tools and Equipment
- Excavator or shovel for digging
- Compactor or plate tamper for subgrade
- Form boards, stakes, and a level
- Rebar or wire mesh for reinforcement
- Wheelbarrow or concrete pump
- Screed board, bull float, edging tool, trowel, and broom
- Concrete saw for joints and later cutting
Step-by-Step Installation
Excavation and Base Preparation
Excavate to the required depth, accounting for slab thickness and the base layer. A typical residential slab uses 4–6 inches of concrete over 4–6 inches of compacted crushed stone. Compact the subgrade thoroughly to prevent settling. Add a 4-inch layer of compacted aggregate for drainage and load distribution.
Formwork and Reinforcement
Install straight, secure formwork using treated lumber or plastic forms. Set forms at the required elevation and brace them to resist the pressure of wet concrete. Place reinforcement — either wire mesh or rebar — to control cracking and increase tensile strength. Ensure reinforcement sits mid-depth in the slab, supported by chairs or blocks.
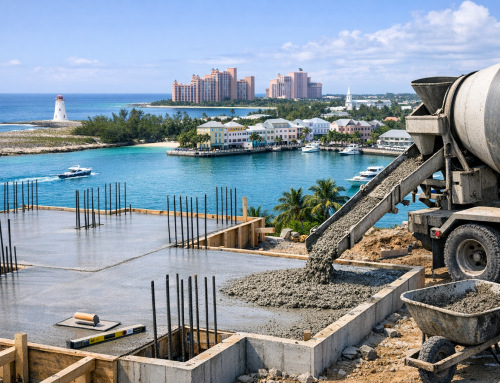
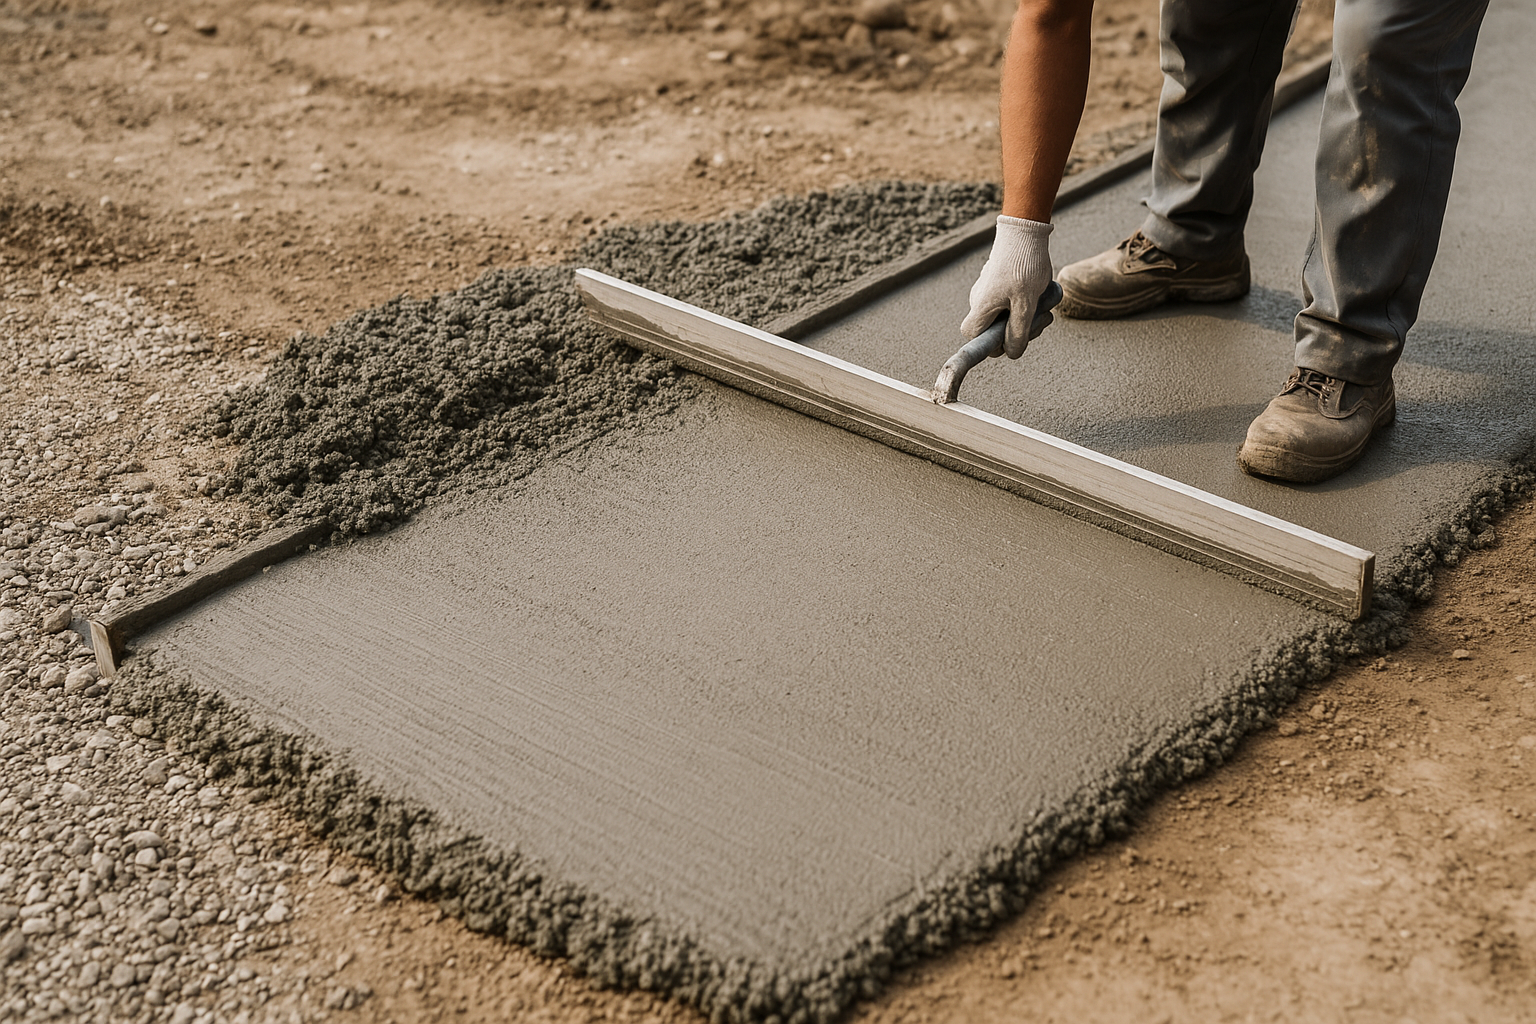
Pouring and Finishing
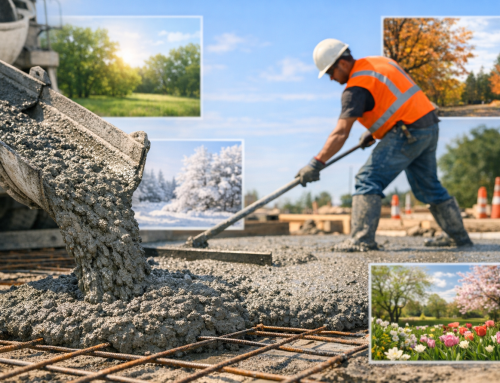
Pour concrete in manageable sections and distribute it evenly. Strike off the surface with a screed board to the level of the forms. Use a bull float to smooth ridges and bring the cream (fine particles) to the surface. After bleed water dissipates, use an edging tool on joints and a trowel for a smooth finish. For outdoor slabs, a broom finish improves traction.
Curing and Protection
Curing is critical to strength and durability. Keep the slab moist for at least 7 days (longer for high-strength mixes) by misting, using wet burlap, or applying a curing compound. Protect fresh concrete from rapid temperature changes, direct sun, and freezing conditions. Avoid heavy loads for at least 7 days and full design loads for 28 days.
Common Mistakes to Avoid
- Insufficient subgrade compaction — leads to settling and cracking.
- Incorrect concrete mix — using too low a strength or wrong admixtures for conditions.
- Poorly placed reinforcement — does not prevent cracking if buried too deep or sitting on the subgrade.
- Rushing finishing — working the surface too early traps bleed water and weakens the top layer.
- Skipping control joints — joints control where cracks occur; place them at intervals of 24–36 times slab thickness in inches (e.g., 4″ slab = 8–12 ft spacing).
Maintenance Tips
Routine maintenance extends the life of a concrete surface. Keep joints sealed to prevent water infiltration, clean stains promptly, and avoid deicers that can damage finishes over time. Repair small cracks early with appropriate patching products. For driveways and high-traffic areas, consider resealing every few years to protect against oil and weathering.
Cost Considerations
Costs vary by region, slab thickness, reinforcement type, finish, and accessibility. Expect materials and labor to account for most of the cost; labor tends to be higher for complex forms or finishes. Get multiple quotes and clarify scope, warranties, and timeline. Factor in permit fees and site preparation costs.
When to Hire a Professional
DIY installation can work for small projects, but hire a pro for large slabs, structural foundations, complex grading, or when local codes require licensed contractors. Professionals bring experience with proper mix selection, reinforcement strategies, finishing techniques, and curing practices that improve long-term performance.
Conclusion
Good concrete installation starts with careful planning and a solid foundation. Pay attention to site prep, choose the right mix and reinforcement, follow proper pouring and curing practices, and avoid common mistakes. With the right approach, you’ll get a durable, attractive concrete surface that lasts for decades.